In-App Notifications in PHP apps with Novu
Learn how to implement in-app notifications integrating Novu in your front-end and back-end application.

It was a normal work day going through my calendar I noticed a call scheduled for a design handover from the product team to the engineers. I’m usually 50-50 on this type of call because on the one hand, you get to ask the designers questions directly and get clarity but on the other hand I believe a lot more questions come up when the implementation of the feature begins. The call began and not before long I noticed the feature being handed over was Notifications, in-app notifications, like real-time in-app notifications, Wow!
I was on a team in a previous engagement tasked with implementing Notifications from scratch and all I can say is that it wasn’t easy. From trying to architect the database to allow all modules in the application to use this feature to implement notifications that require different types of actions to implementing web sockets so the notifications are real-time, believe me when I say this was no easy task. And at the end of the day after we launched this feature it broke production. The performance of all the moving parts was not optimal at all and we had to turn off the feature until it could be optimized in the future.
So back to the current day seeing that this was a task with my name on it, I had no choice but to be excited about the challenge it presented. On an engineering sprint planning call, I mentioned that I’d be working on this feature in the current sprint and the CTO suggested I use Novu. This was my first time hearing of it so I jumped over to the website and I could immediately recognize the value. In addition to that, I found that there was already a PHP SDK to make the integration a lot easier. I immediately decided to jump on the task and here’s how I implemented it:
Account Creation
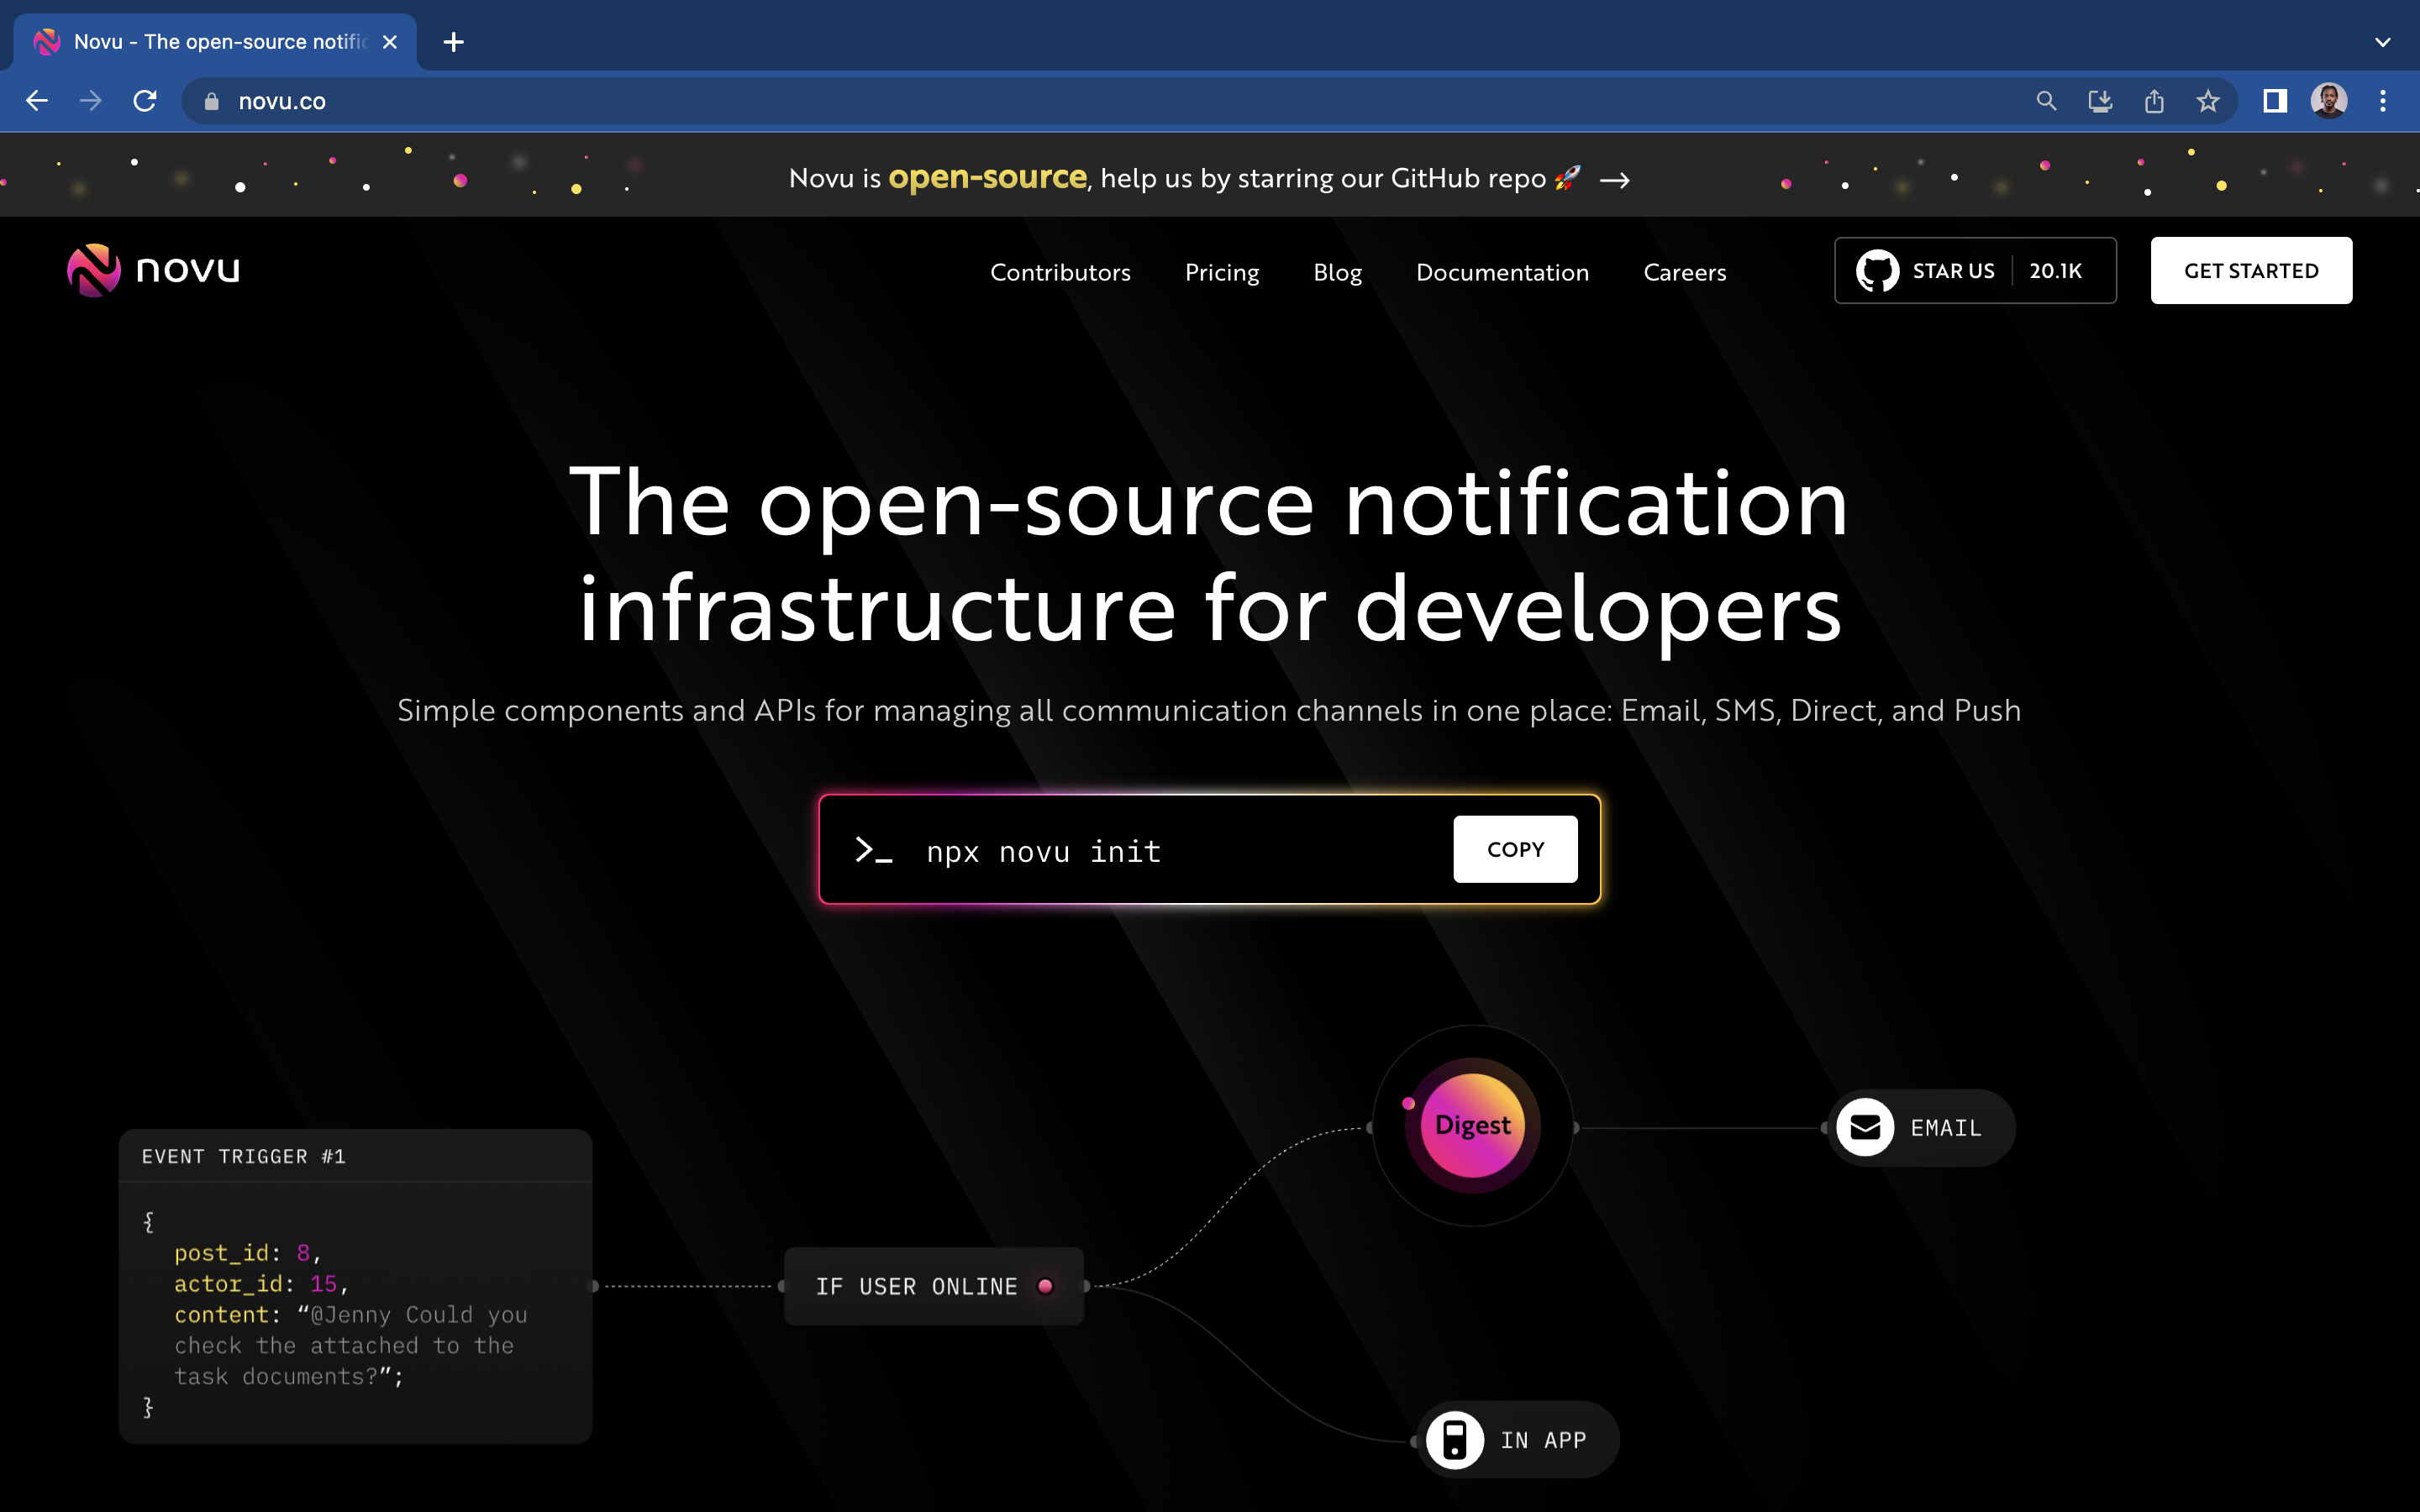
Head over to https://novu.co/ and click on the GET STARTED button.
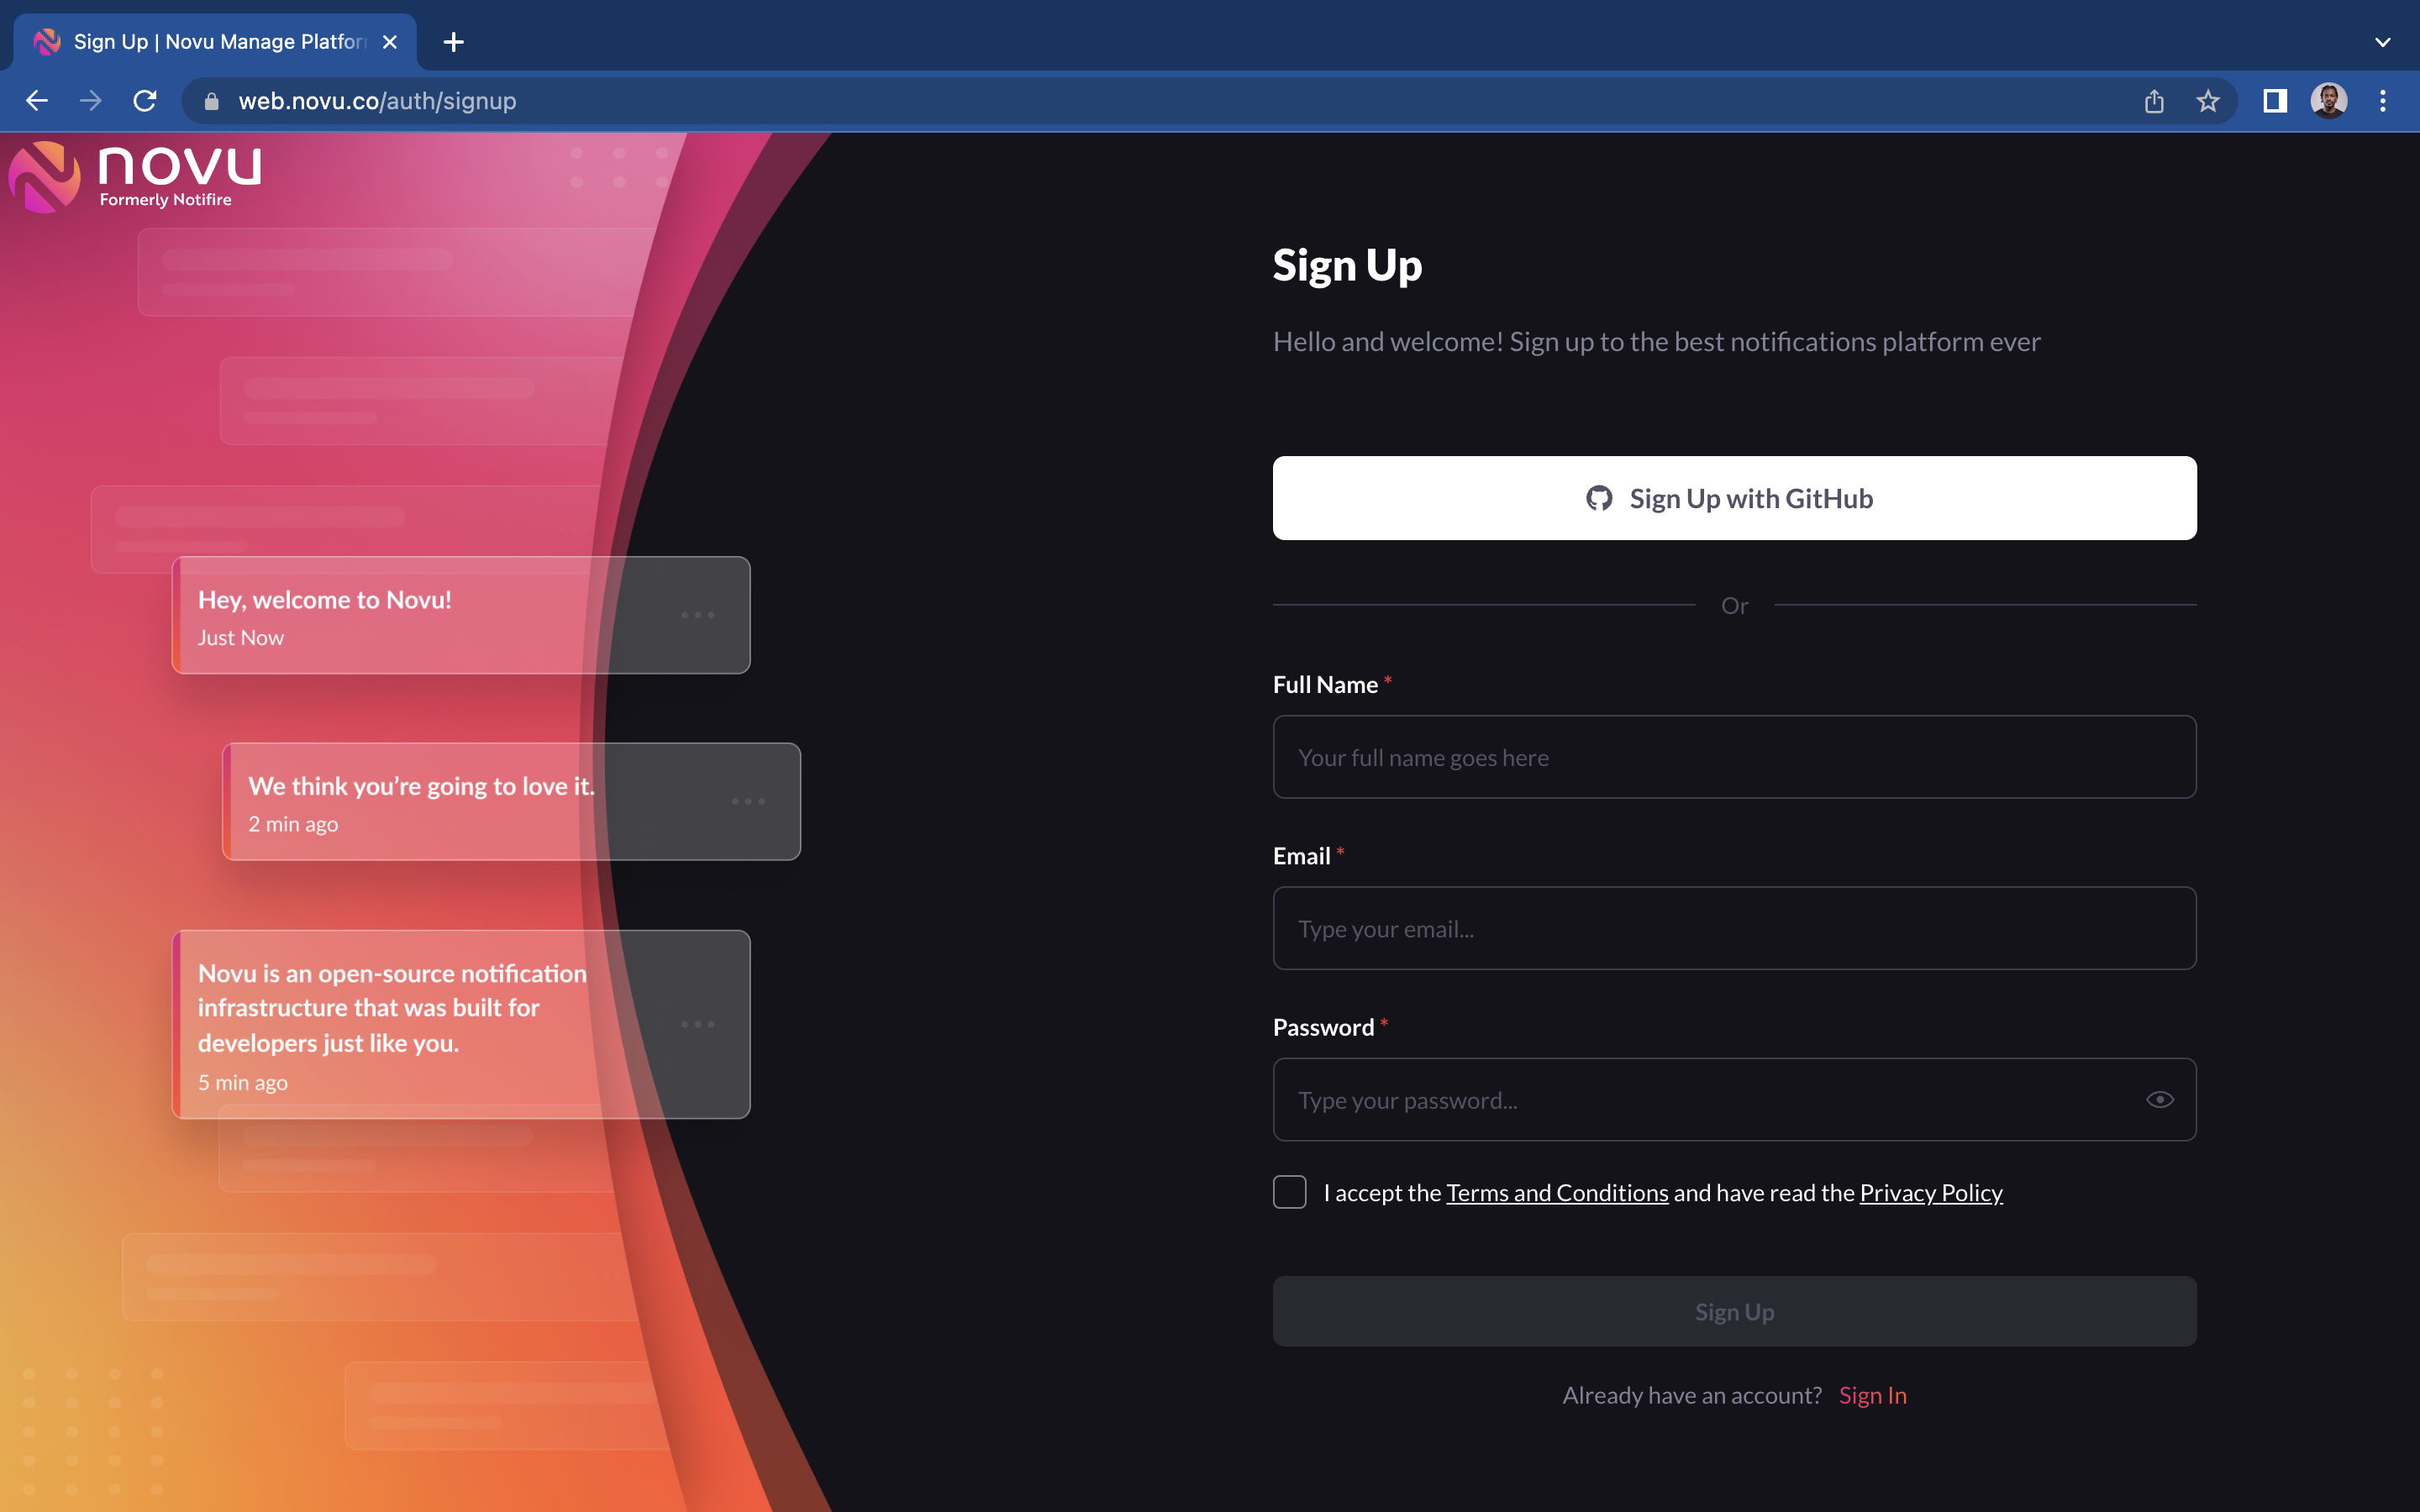
Next, fill in your details to create an account.
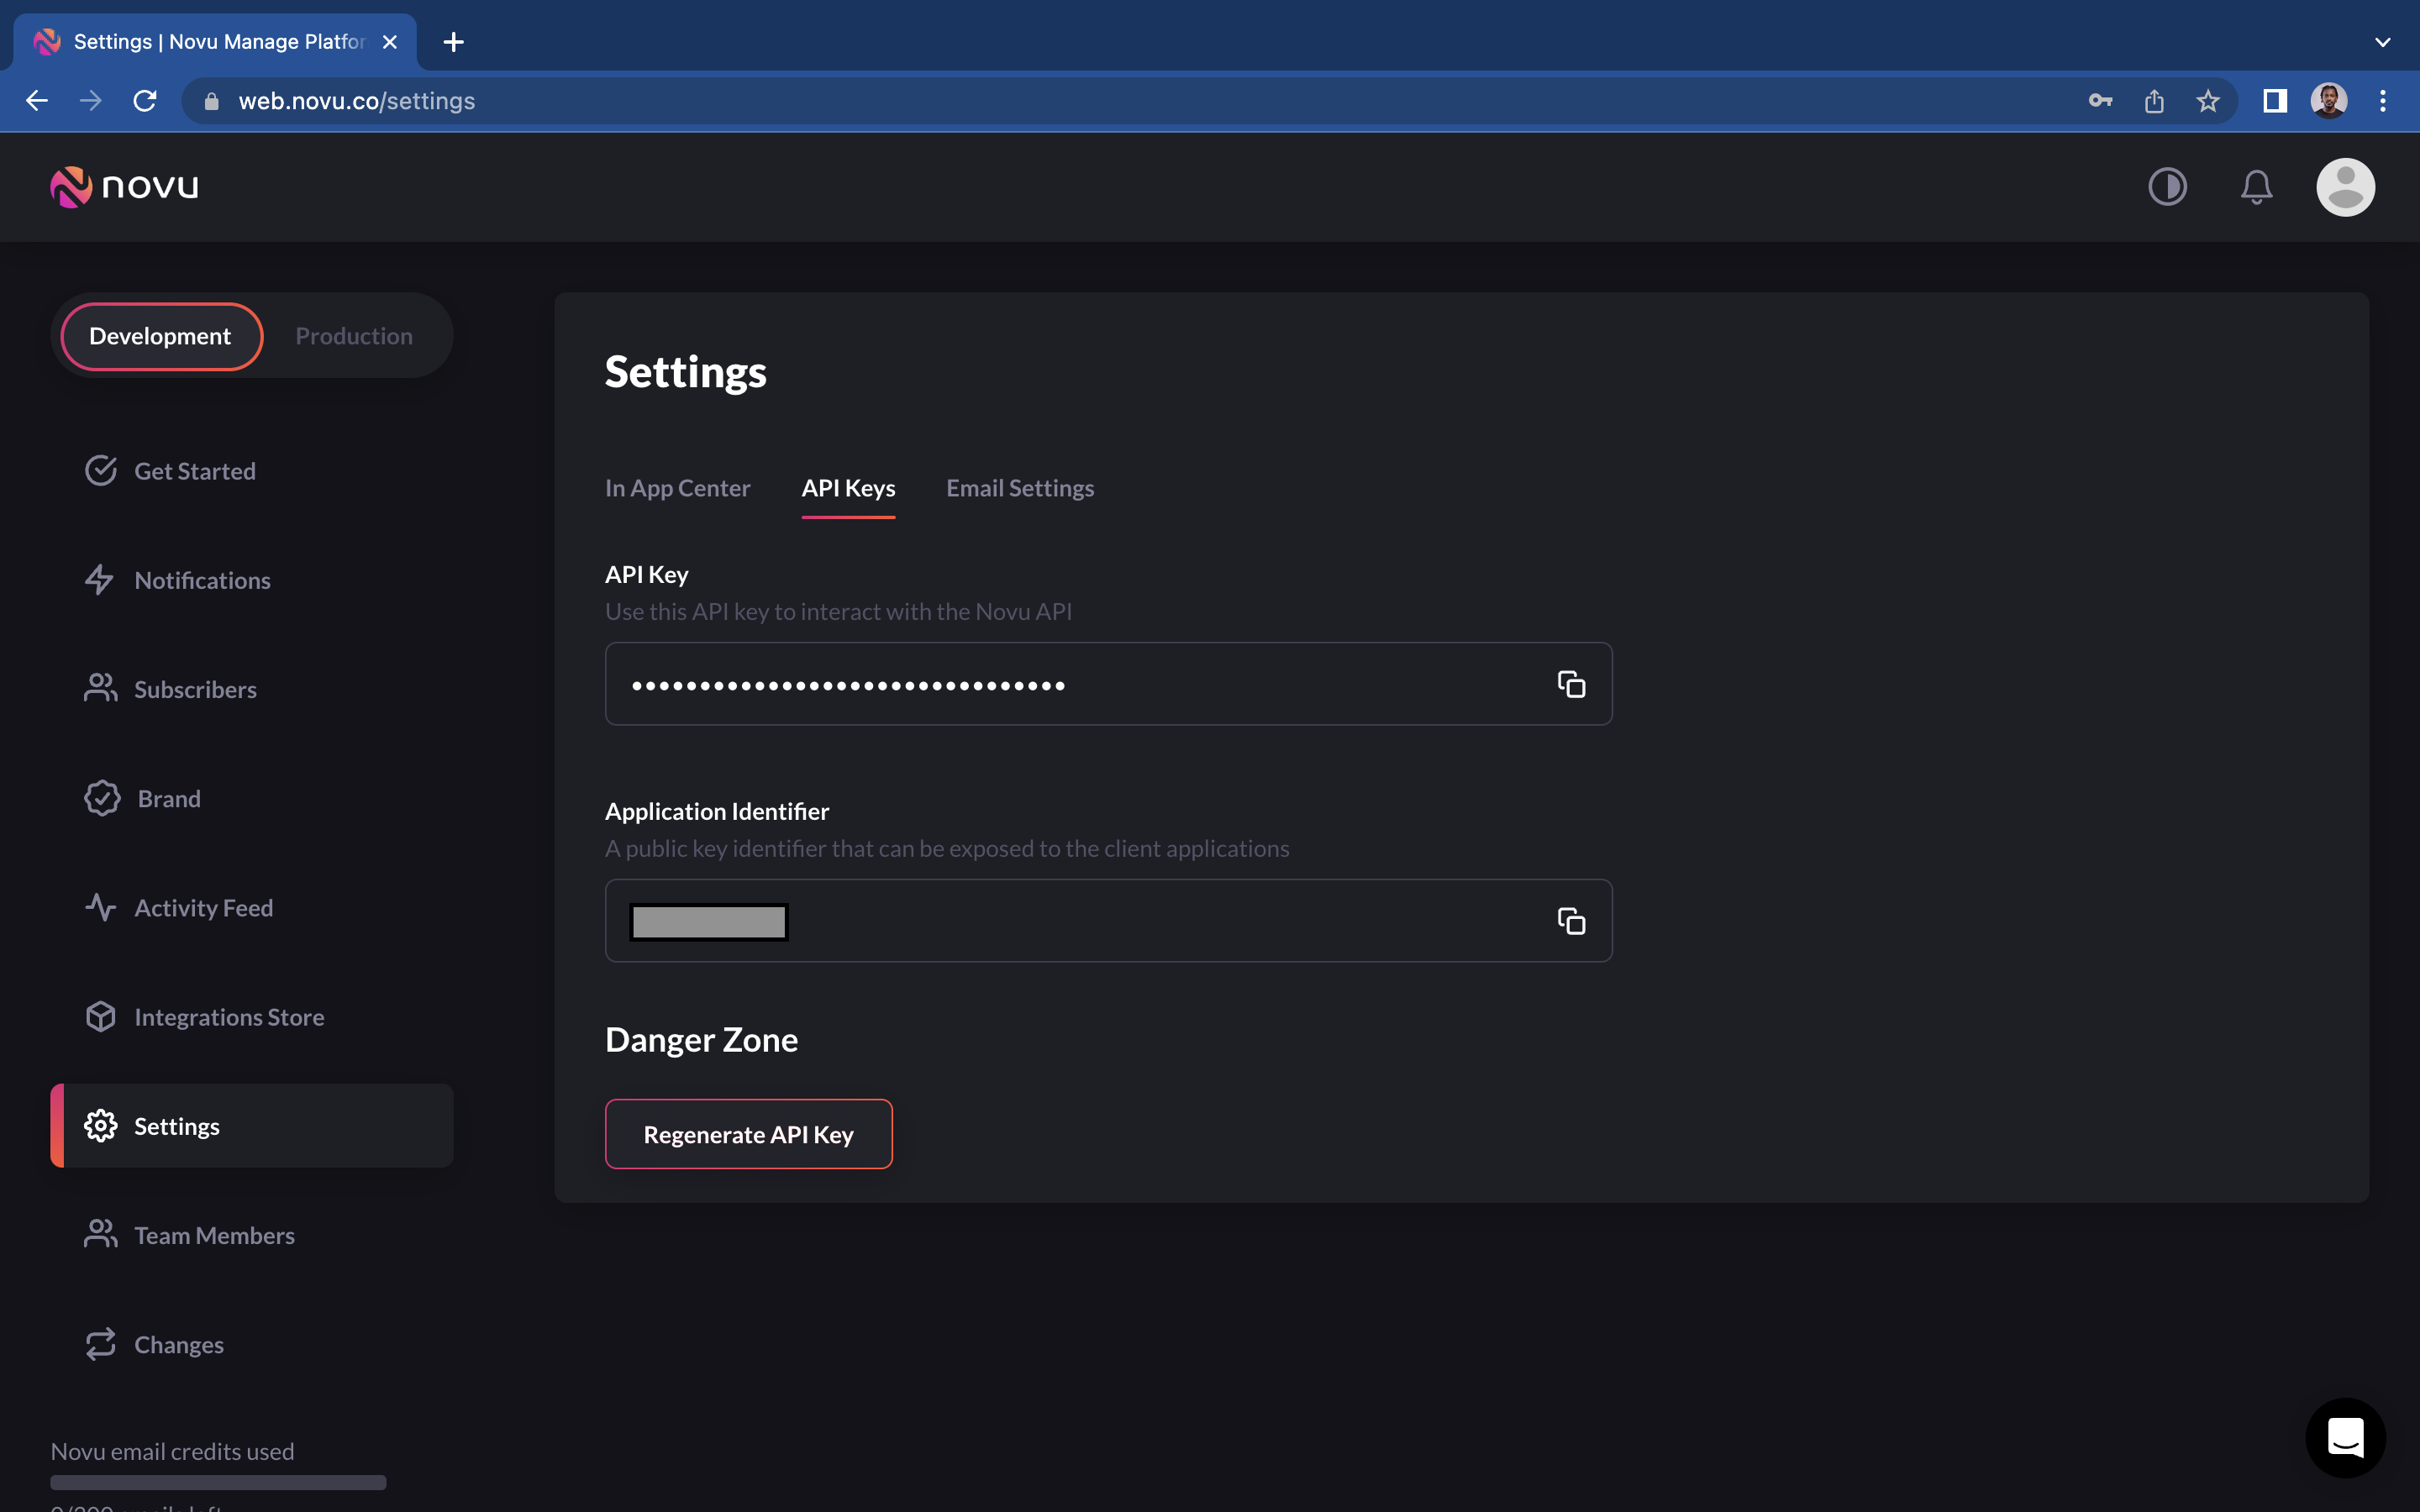
Head over to the settings page and get your API Key and Application Identifier.
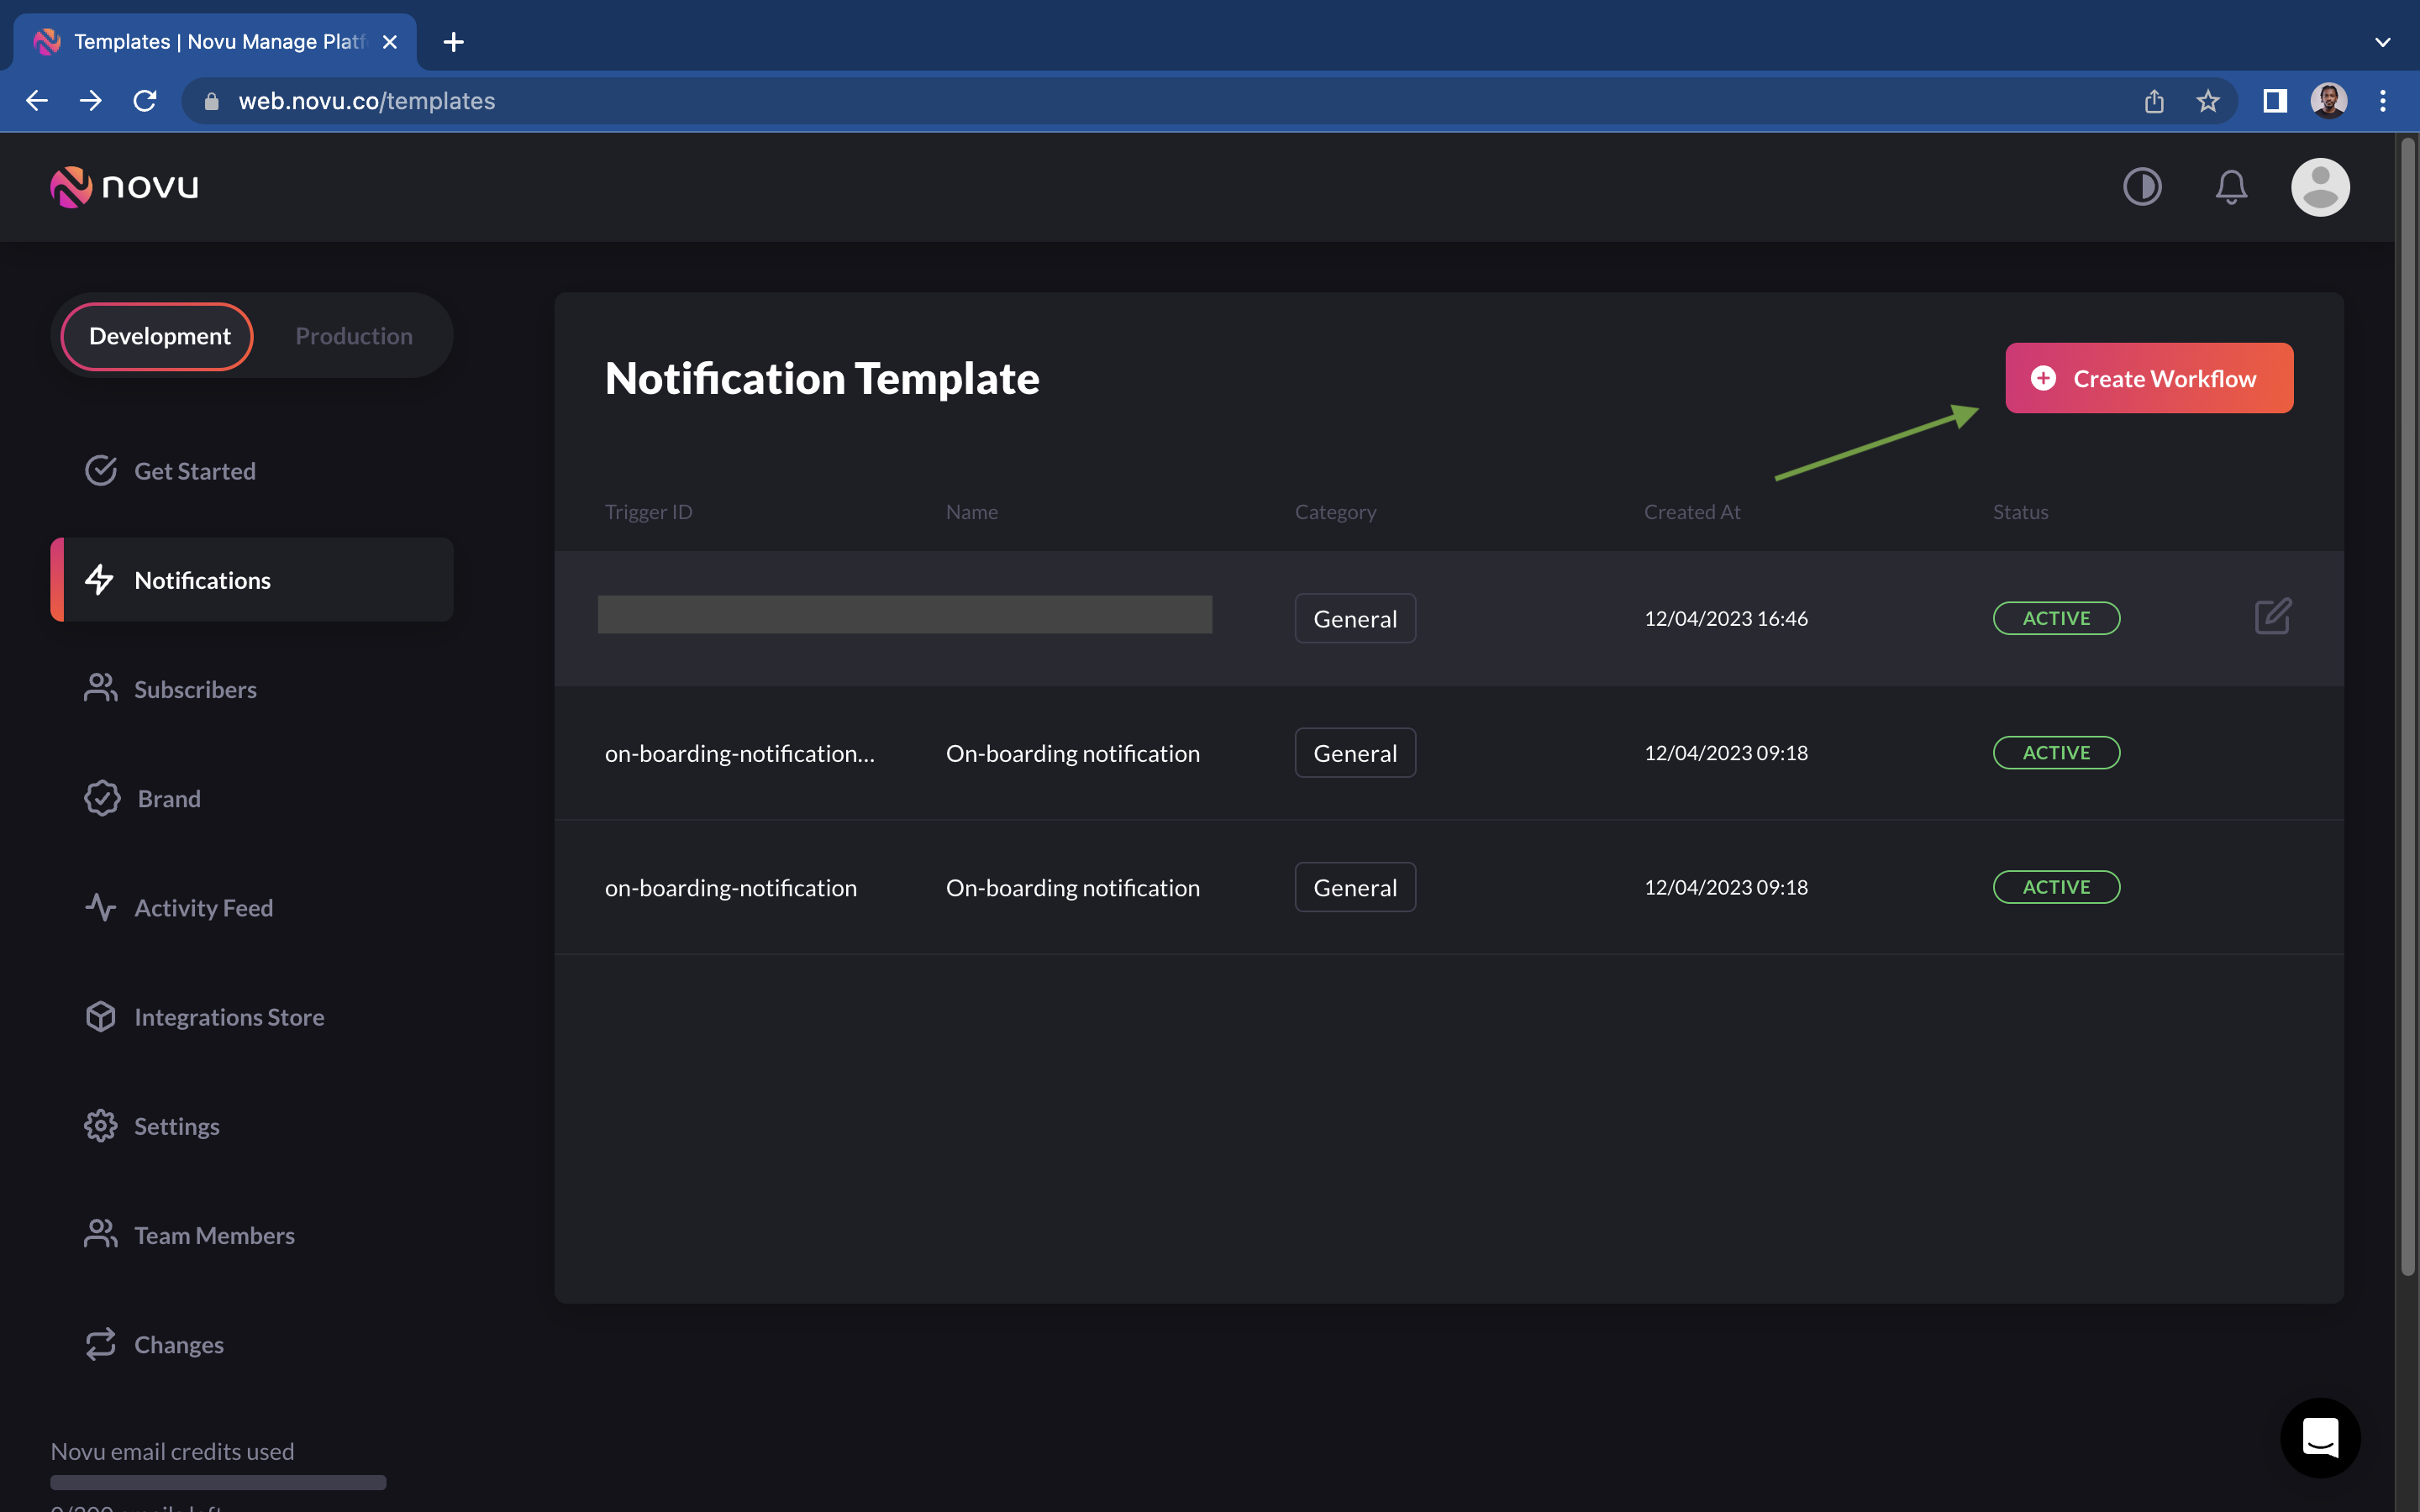
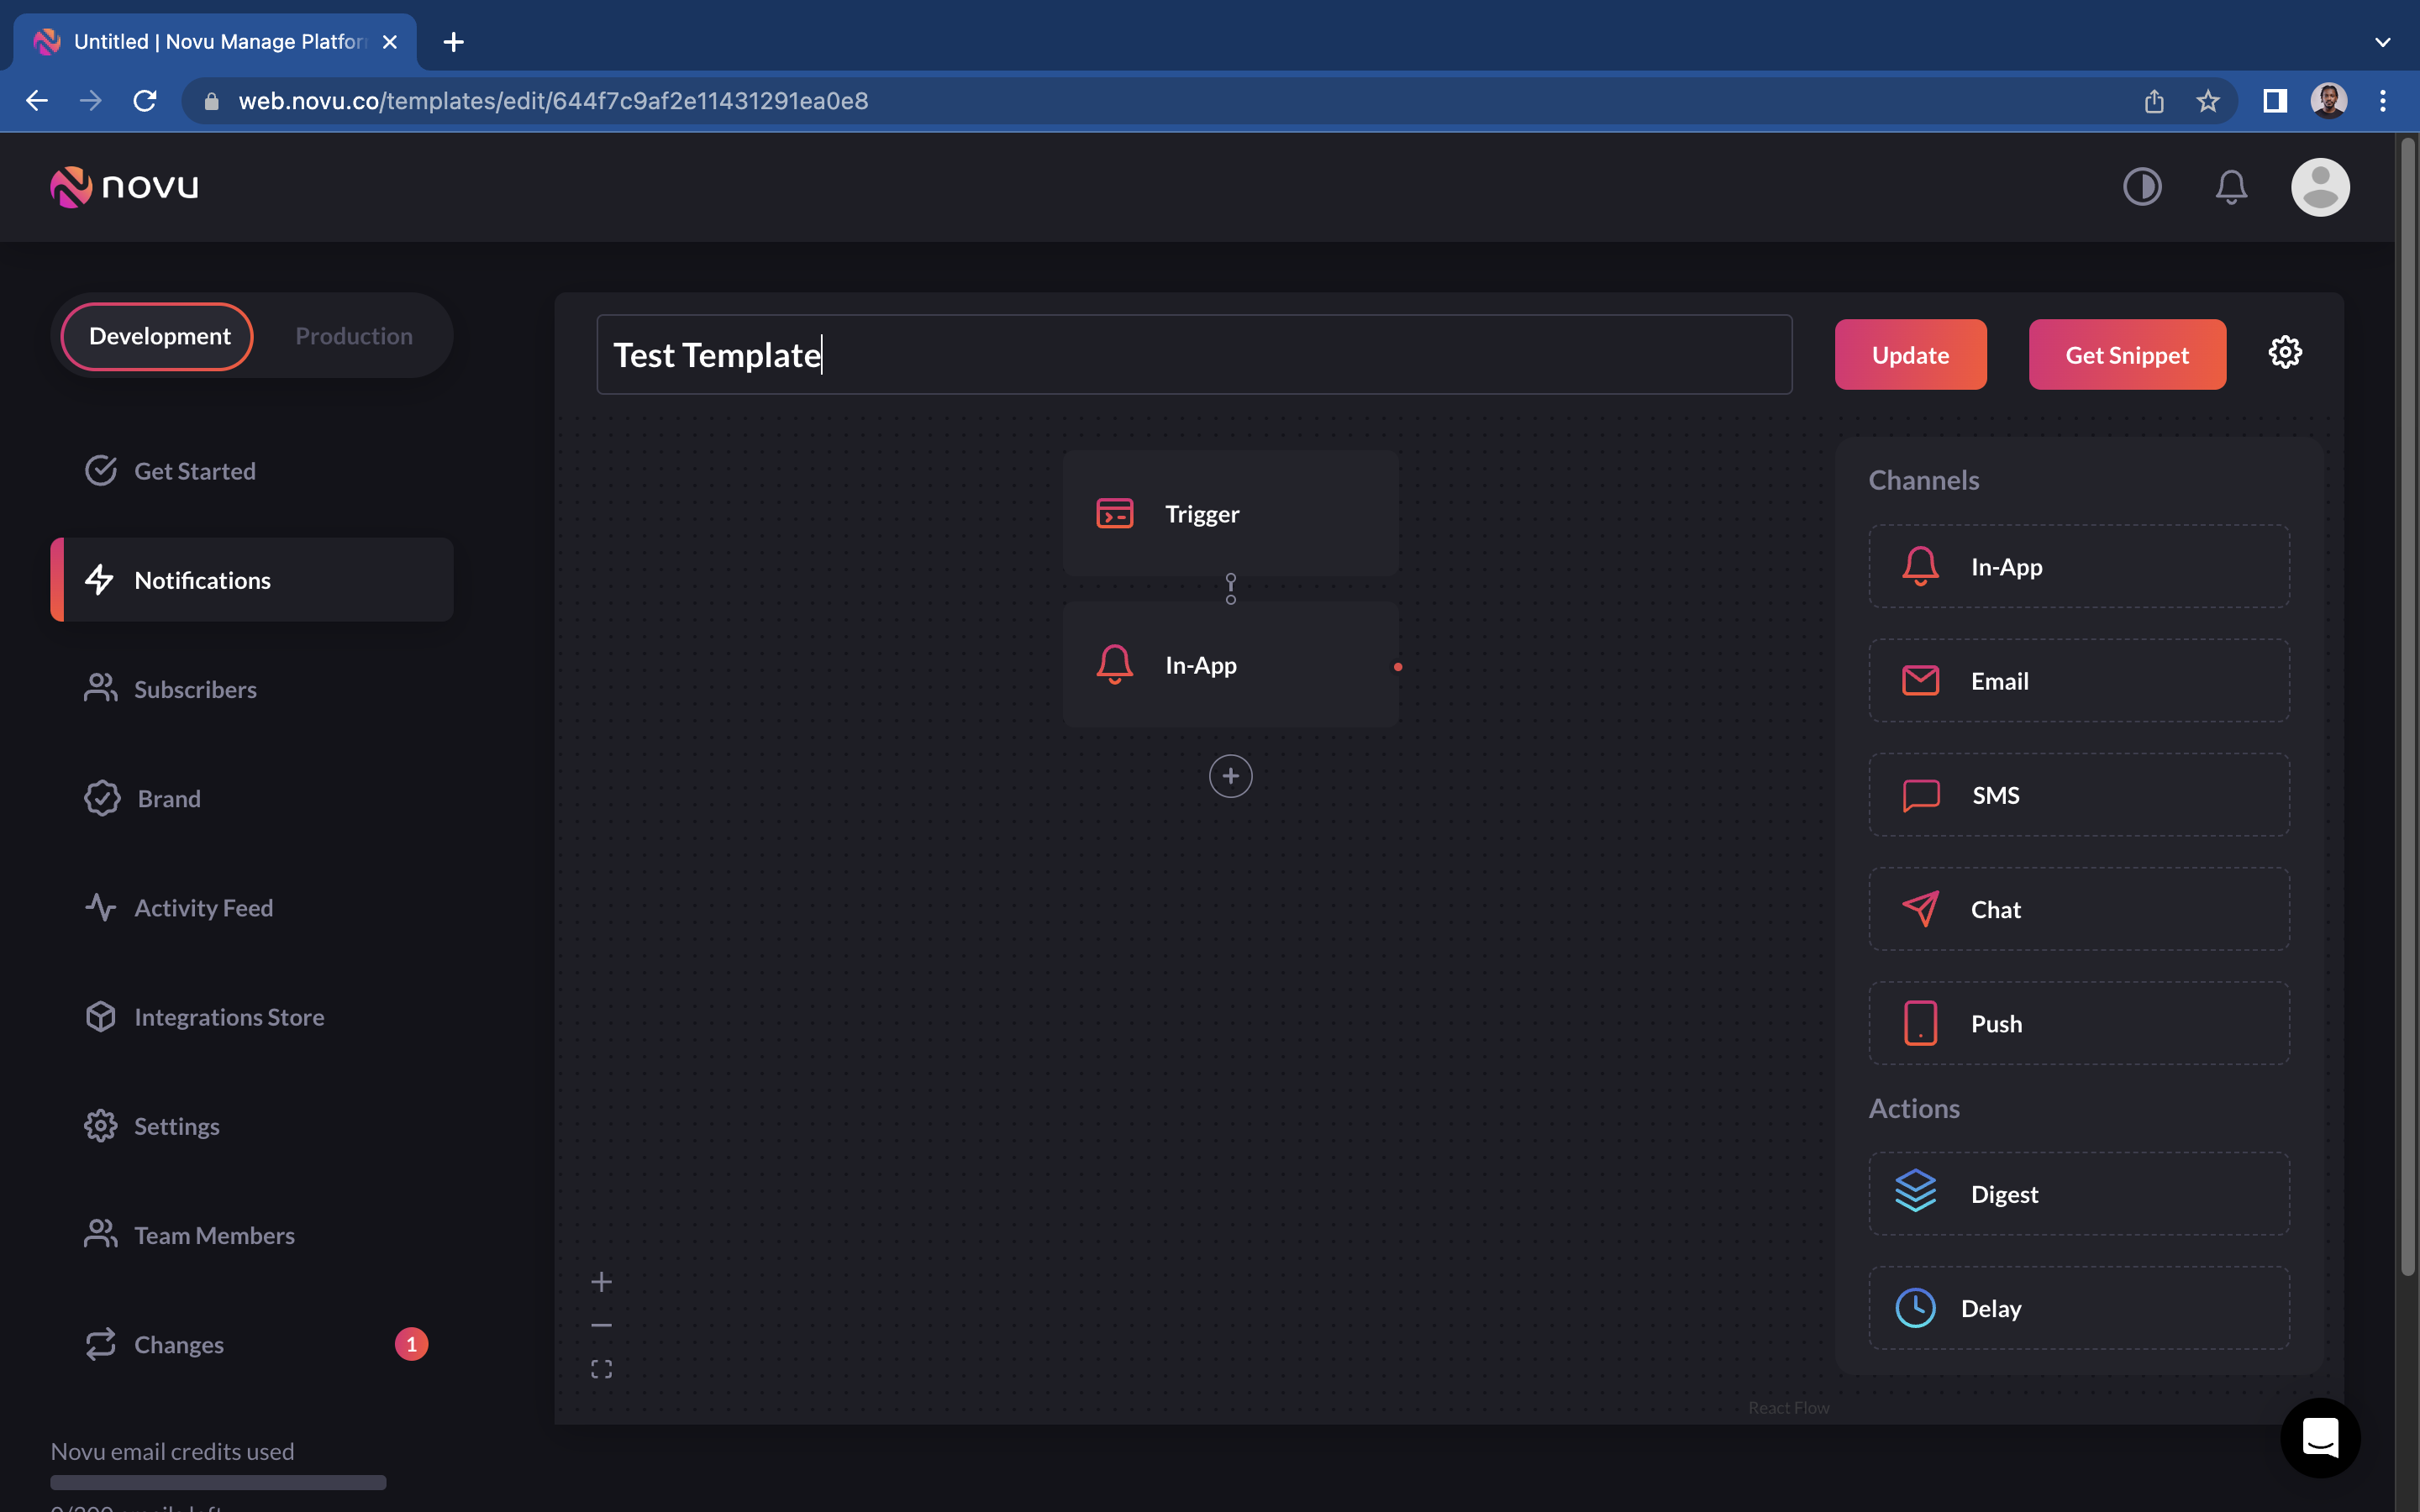
Select “Notifications” on the sidebar and create a workflow using the button provided.
Here you can select what notification channel you want in your workflow. In this example, I’ll be using In-App so I’ll drag and drop it from the right side panel to the workflow.
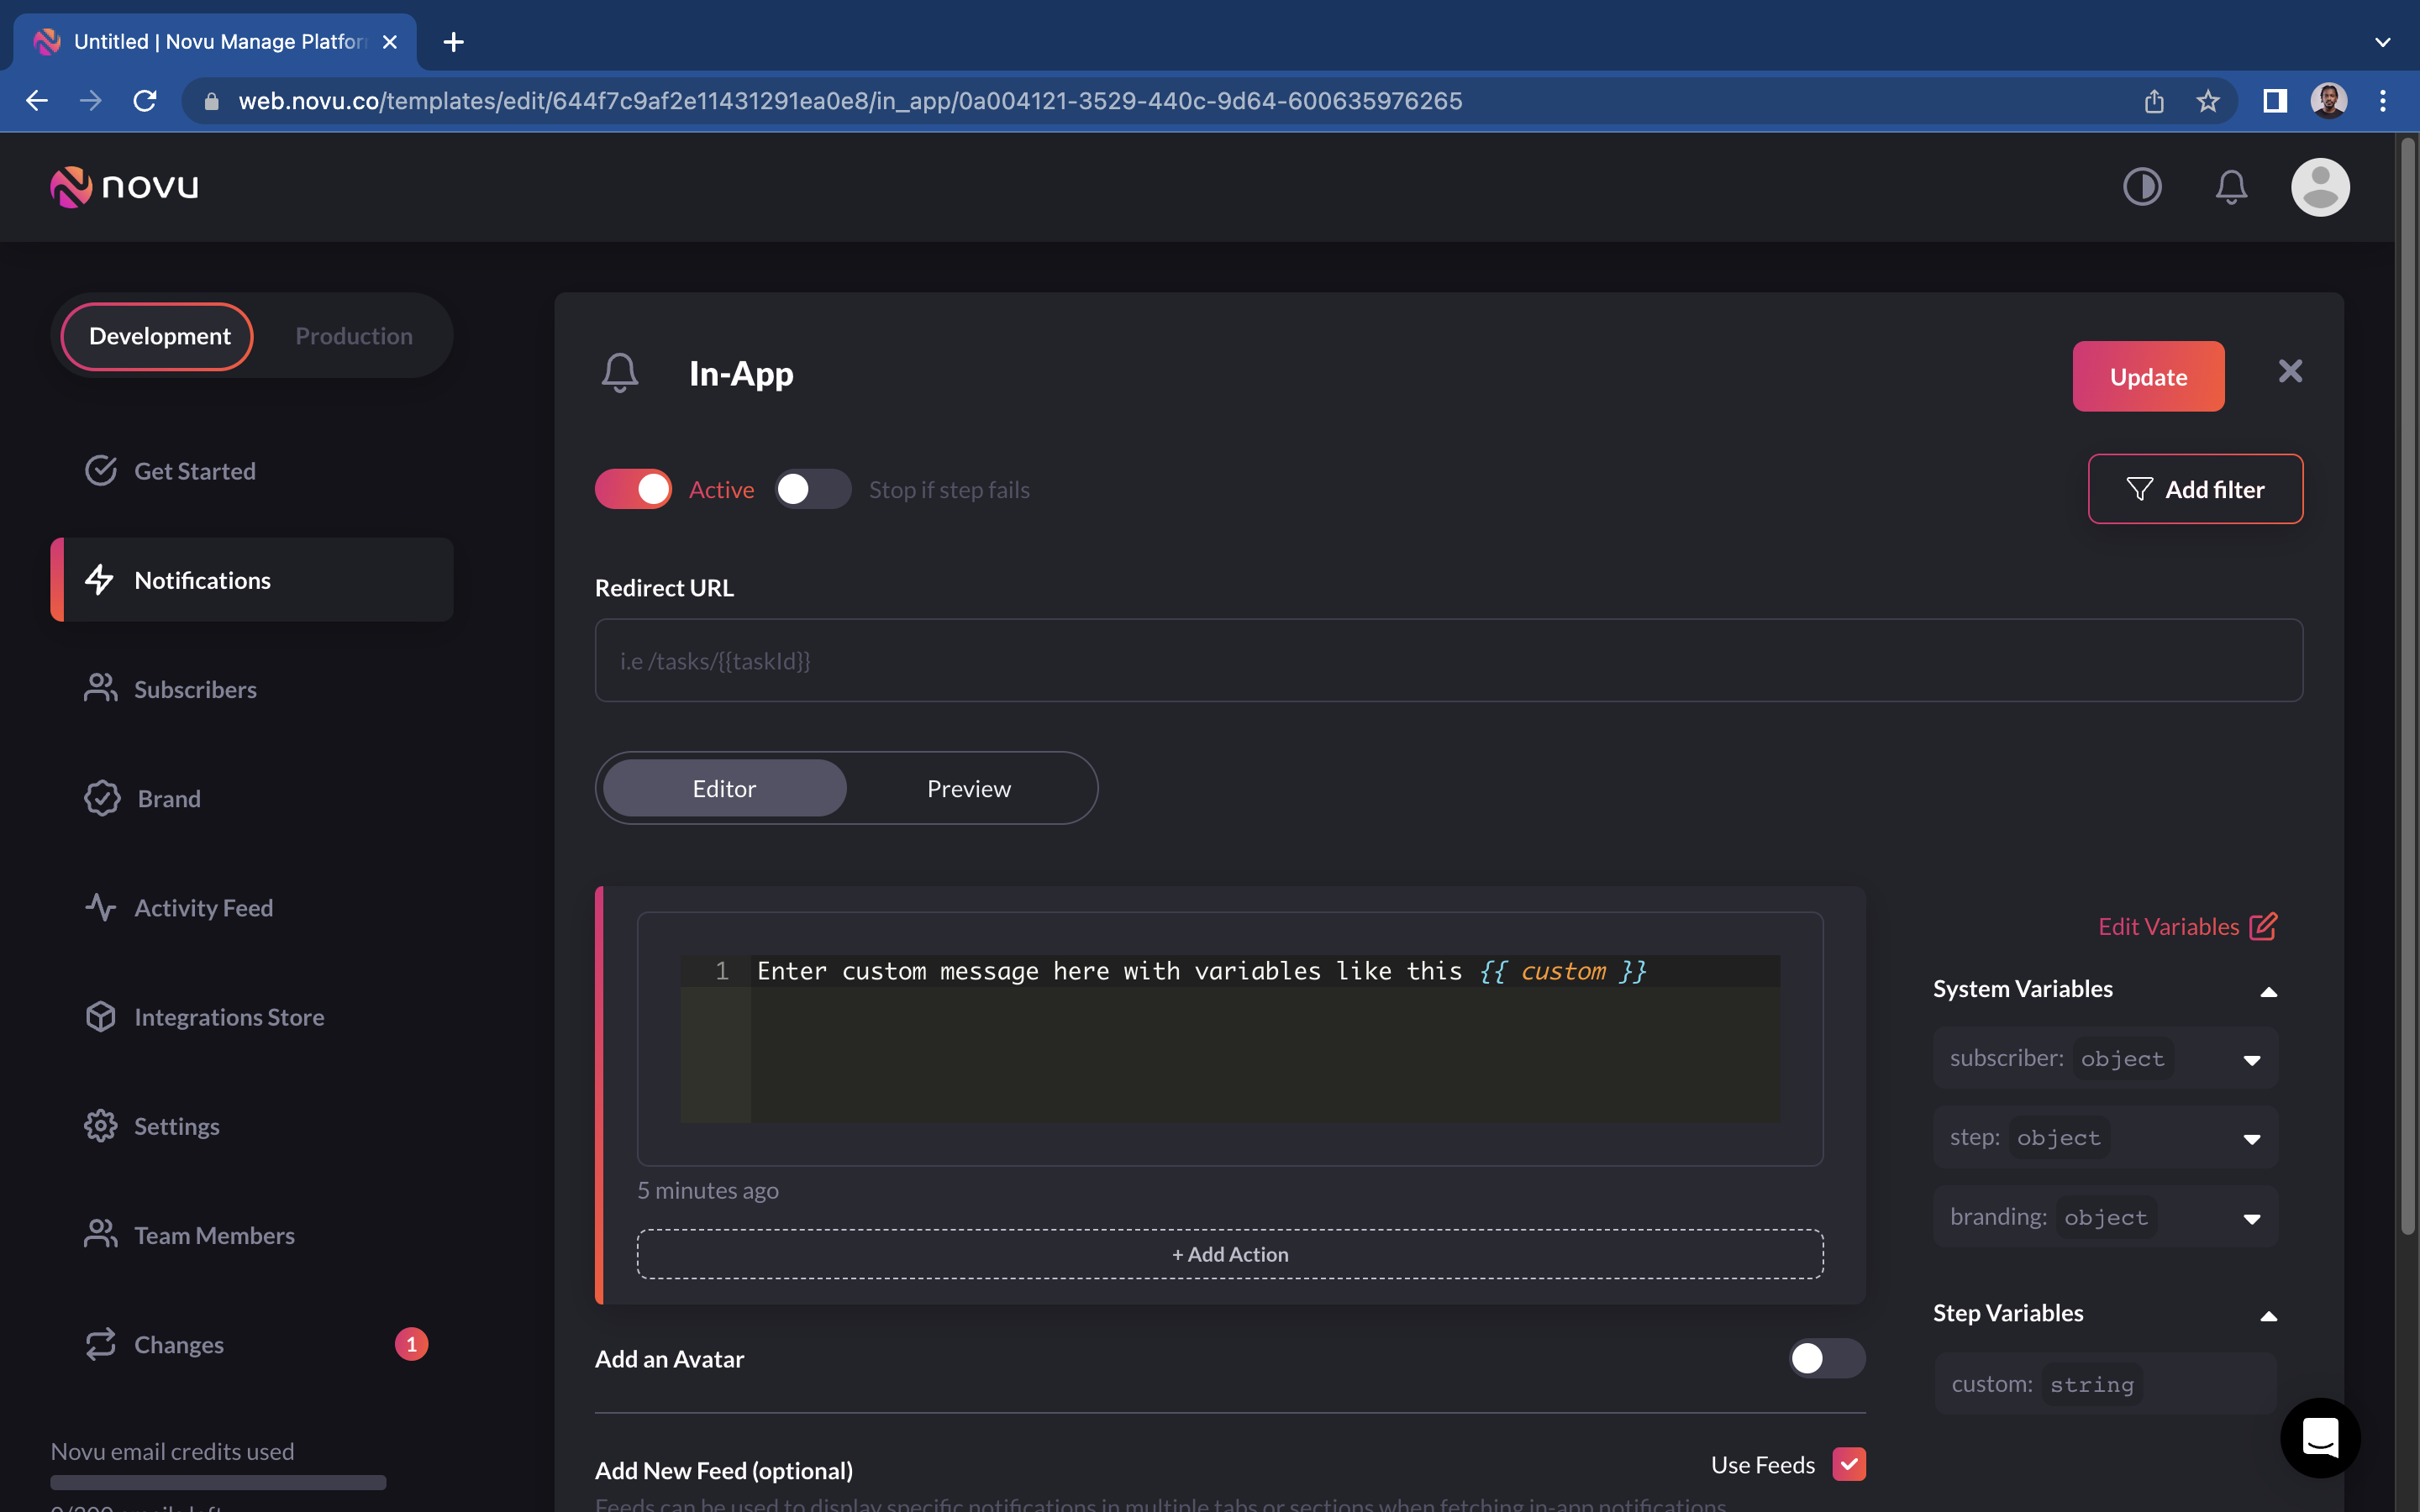
Finally, we select the “In-App” channel we dragged in step 5 above to open the details. Here we can customize the notification message. You can also use custom variables as shown in the image below so we can send custom messages when the notification is triggered from the backend.
With the above steps completed, you are all set to integrate your application. You can find a link to the documentation here https://docs.novu.co/overview/introduction/ but I’ll be using the PHP SDK here https://github.com/novuhq/novu-php.
Installation and Setup
- In your project directory, run the command below
composer require unicodeveloper/novu
- Add a new file called NovuService.php to handle interaction with the Novu SDK. The content of this file is below:
a. Initialize the SDK using your API Key
use Novu\\SDK\\Novu;

class NovuService
{
    protected $novu;

    const NOTIFICATION_TEMPLATE = 'your template name';

    /**
     * __construct
     *
     * @return void
     */
    public function __construct()
    {
        $this->novu = new Novu(config('novu.api-key'));
    }
}
b. Add a method to create a subscriber on Novu. A subscriber is to who the notification is sent.
/**
     * Create user as subscriber on novu
     *
     * @param User $user
     *
     * @return void
     *
     **/
    public function createUserAsSubscriber($user)
    {
        $this->novu->createSubscriber([
            'subscriberId' => $user->id,
            'email' => $user->email,
            'firstName' => $user->first_name,
            'lastName' => $user->last_name,
            'phone' => $user->phone_number,
        ])->toArray();
    }
c. Add a method to send a notification to the subscriber
/**
     * Send Notification to subscriber
     *
     * @param int $userId
     * @param string $message
     *
     * @return void
     *
     **/
    public function sendNotificationToSubscriber($userId, $message)
    {
        $this->novu->triggerEvent([
            'name' => self::NOTIFICATION_TEMPLATE,
            'payload' => [ 'message' => $message ],
            'to' => [
                'subscriberId' => $userId
            ]
        ])->toArray();
    }
Now you can use this service anywhere in your application.
Setting Up the Frontend
Novu provides an easy way to integrate with your front-end application. Following the steps below will have notifications working on your front-end application. I’ll be using Vuejs for this example, however, on the Novu dashboard you can see templates for other frontend frameworks like below:
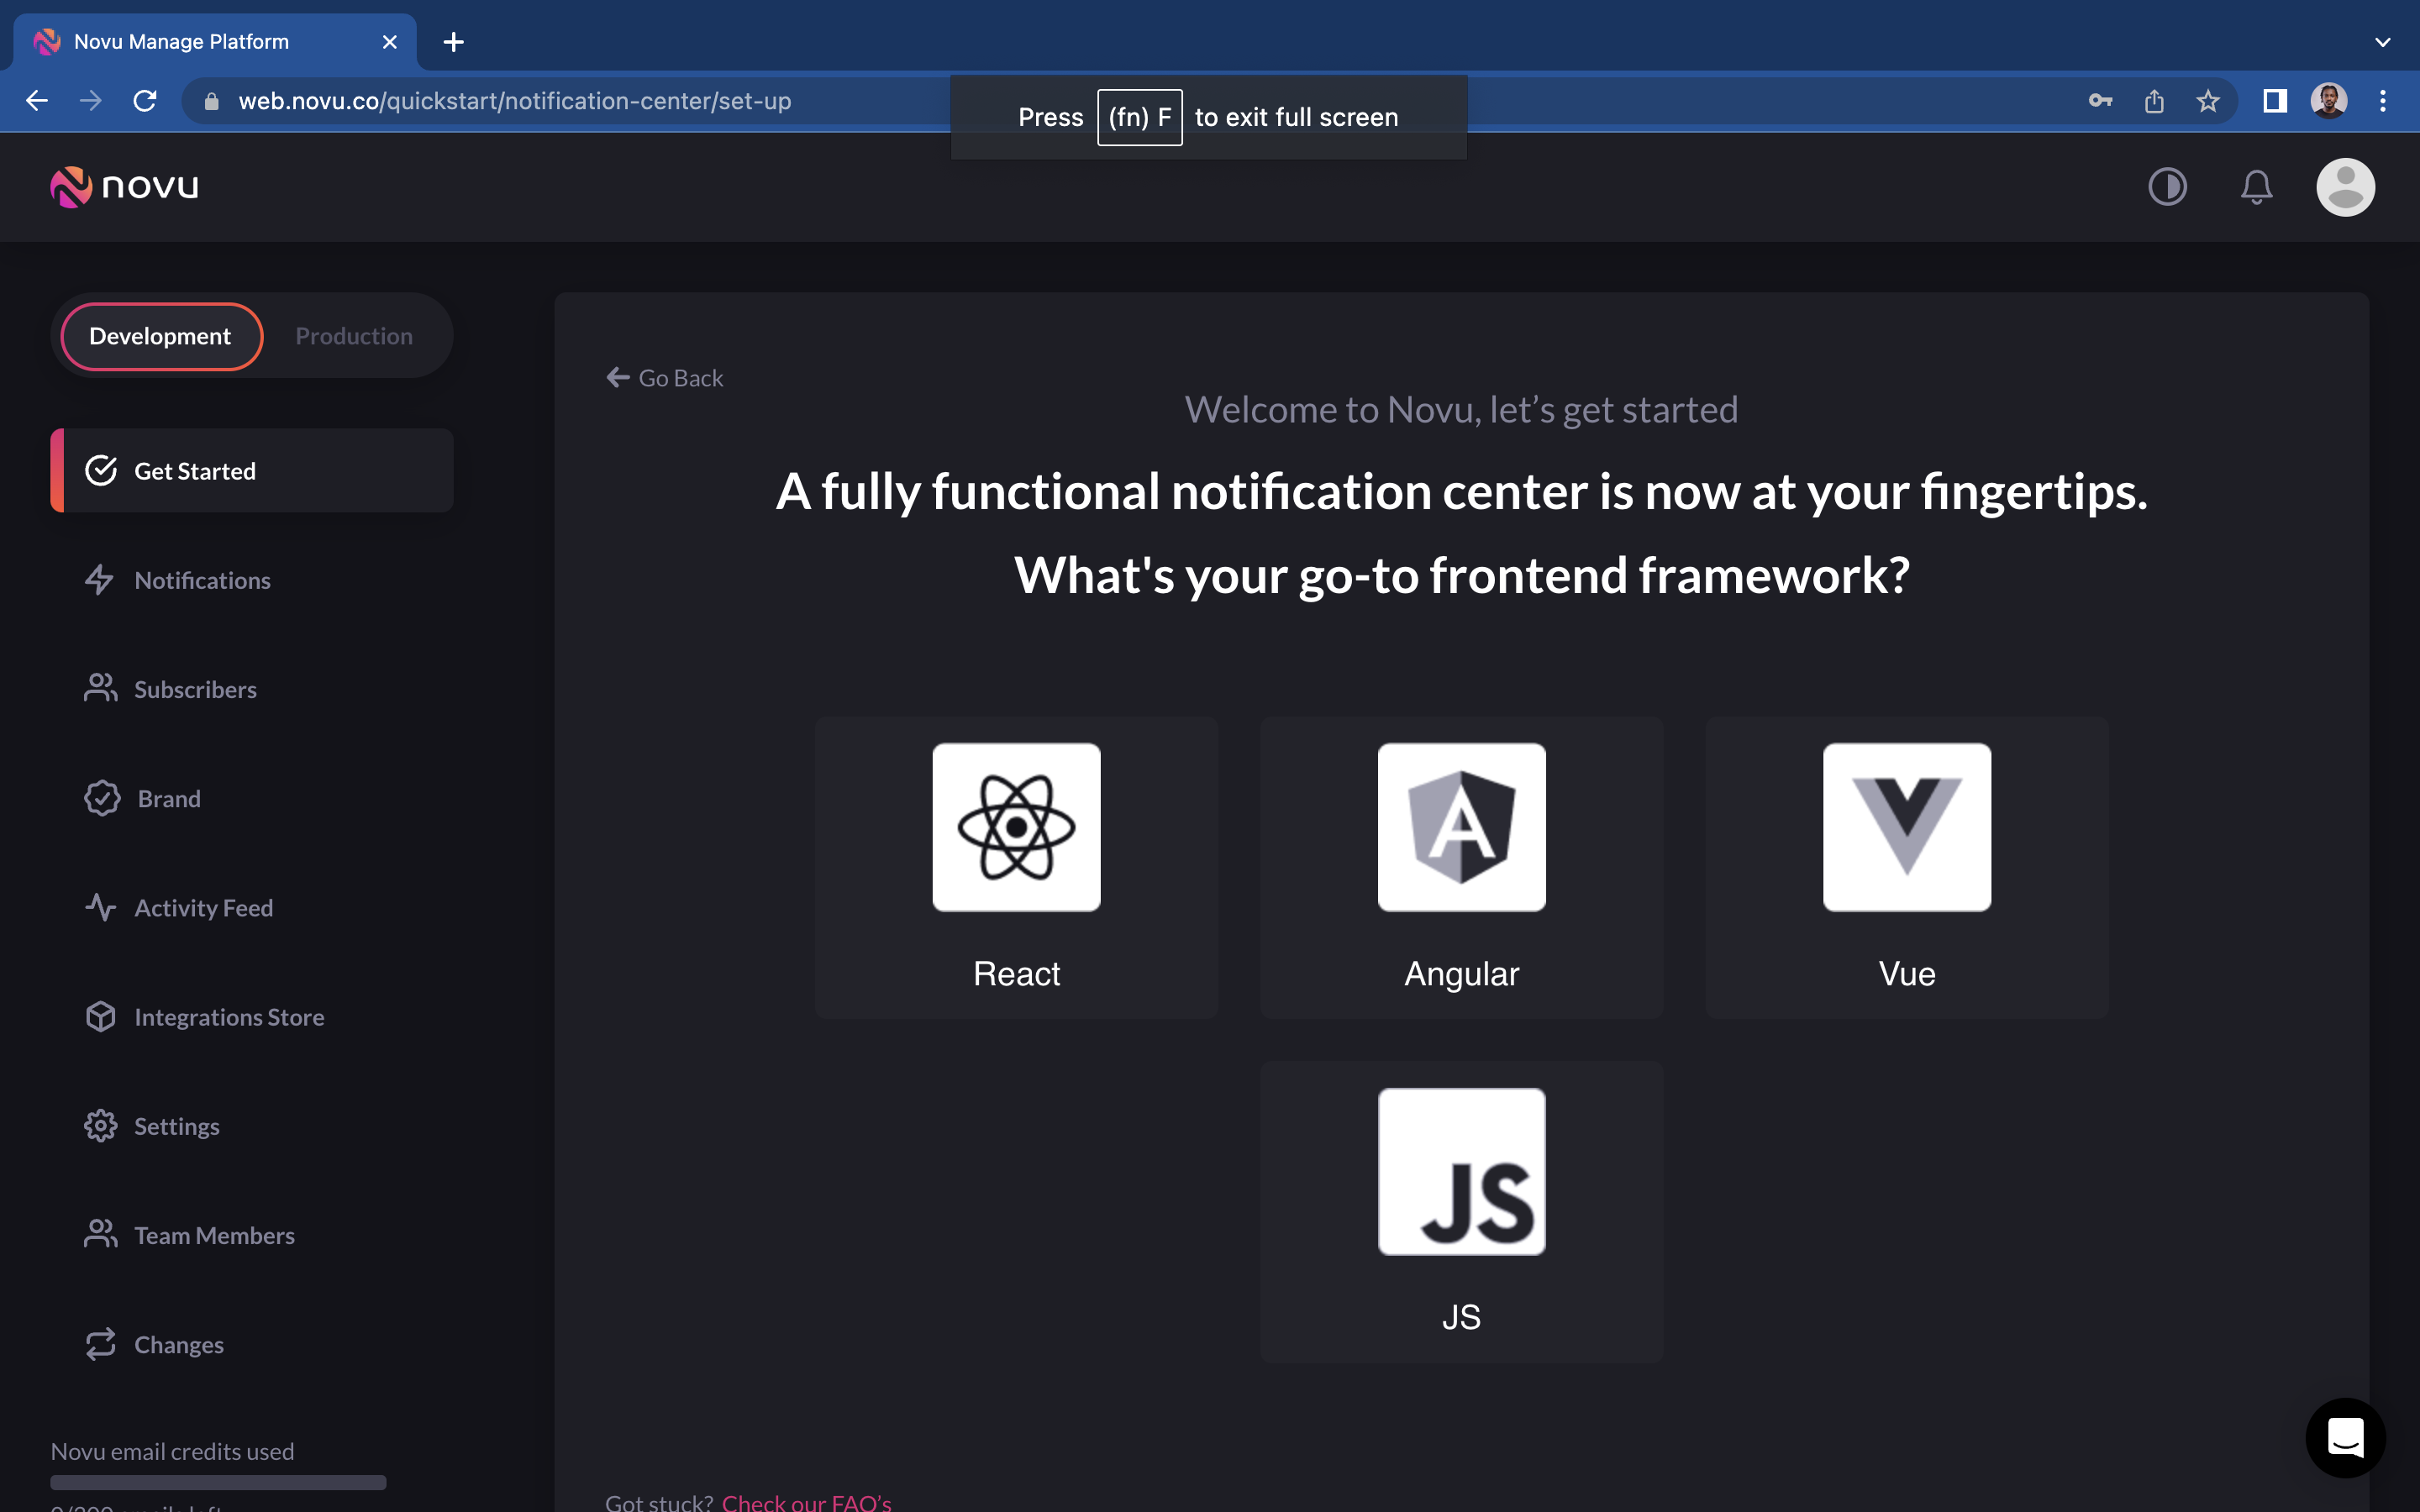
Selecting Vue in the options gives you an installation guide below:
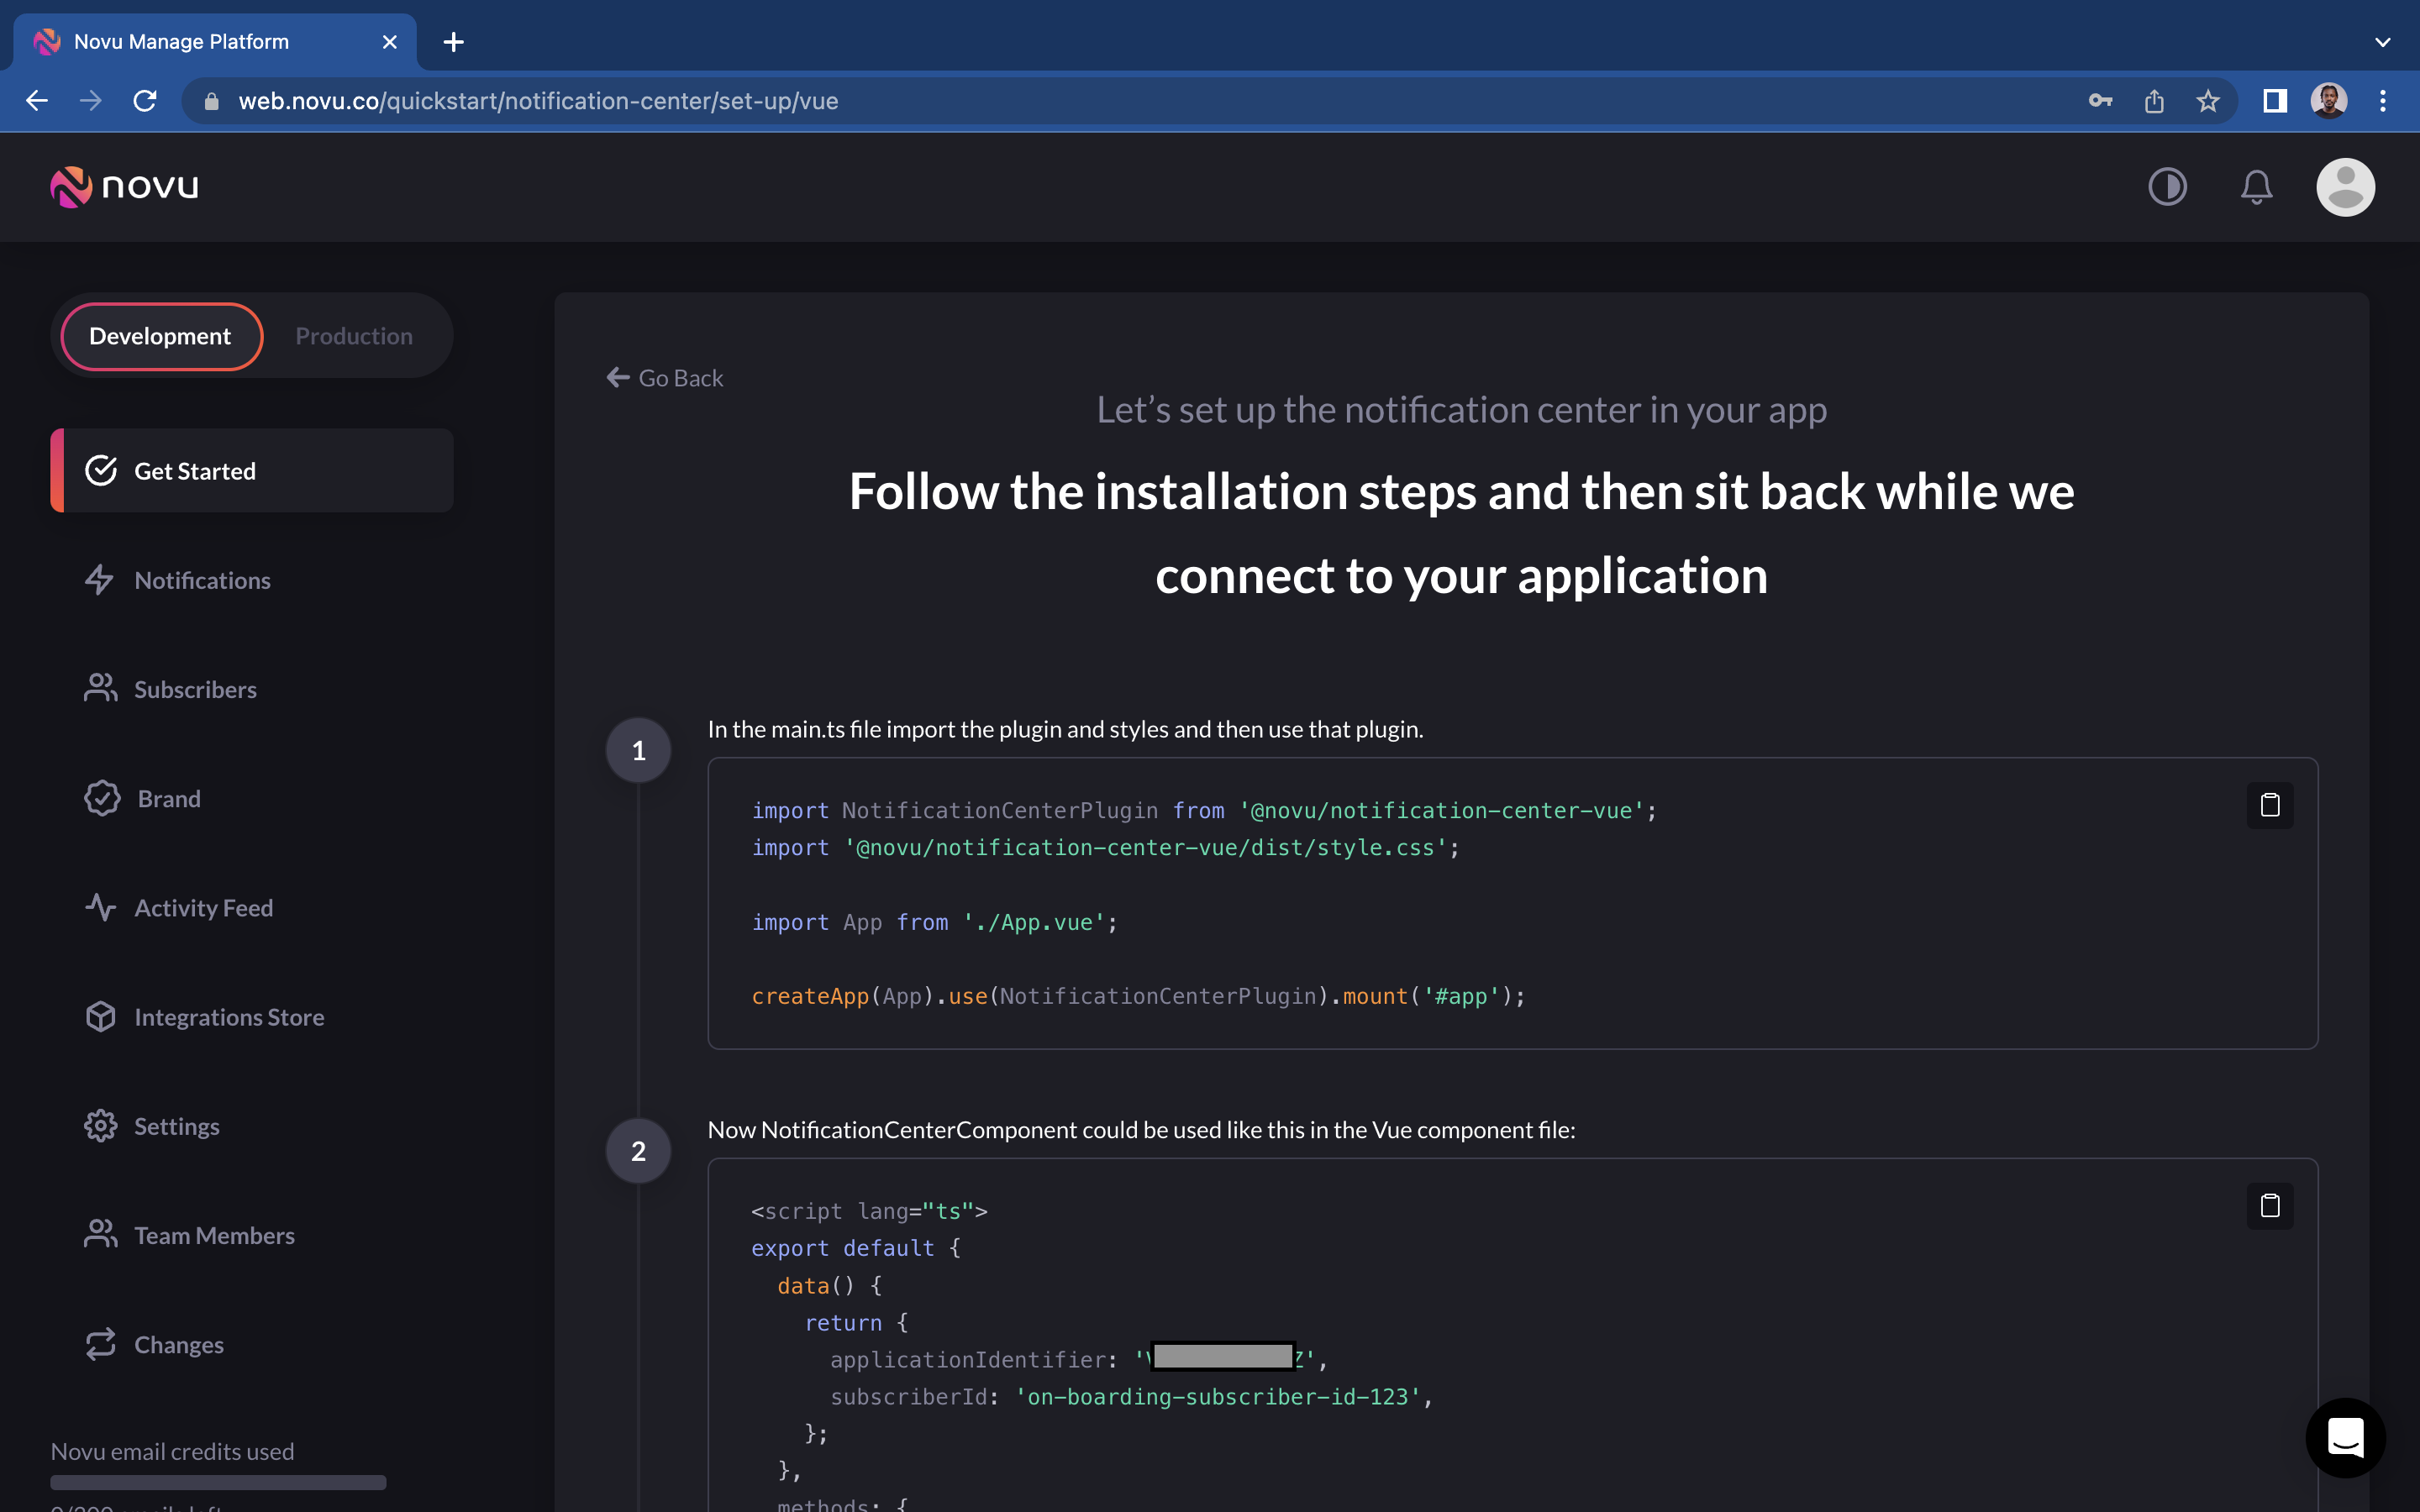
Installation and Setup
Install Novu with the command bellow
npm install @novu/notification-center-vueAdd the Notification Center Vue plugin to your application. should be placed in the
main.js/main.tsfile.import { createApp } from 'vue'; import NotificationCenterPlugin from '@novu/notification-center-vue'; import '@novu/notification-center-vue/dist/style.css'; // your app component import App from './App.vue'; createApp(App).use(NotificationCenterPlugin).mount('#app');Add a Component with the following code
 <script lang="ts">
   export default {
     data() {
       return {
         applicationIdentifier: import.meta.env.VITE_NOVU_APP_IDENTIFIER,
         subscriberId: import.meta.env.VITE_NOVU_SUBSCRIBER_ID,
       };
     },
     methods: {
       sessionLoaded() {
         console.log('Notification Center Session Loaded!');
       },
     },
   };
 </script>

 <template>
   <NotificationCenterComponent
     :subscriberId="subscriberId"
     :applicationIdentifier="applicationIdentifier"
     :sessionLoaded="sessionLoaded"
   />
 </template>
If all goes well you should see a bell icon by default, this bell icon is customizable. I can customize this icon with the code below:
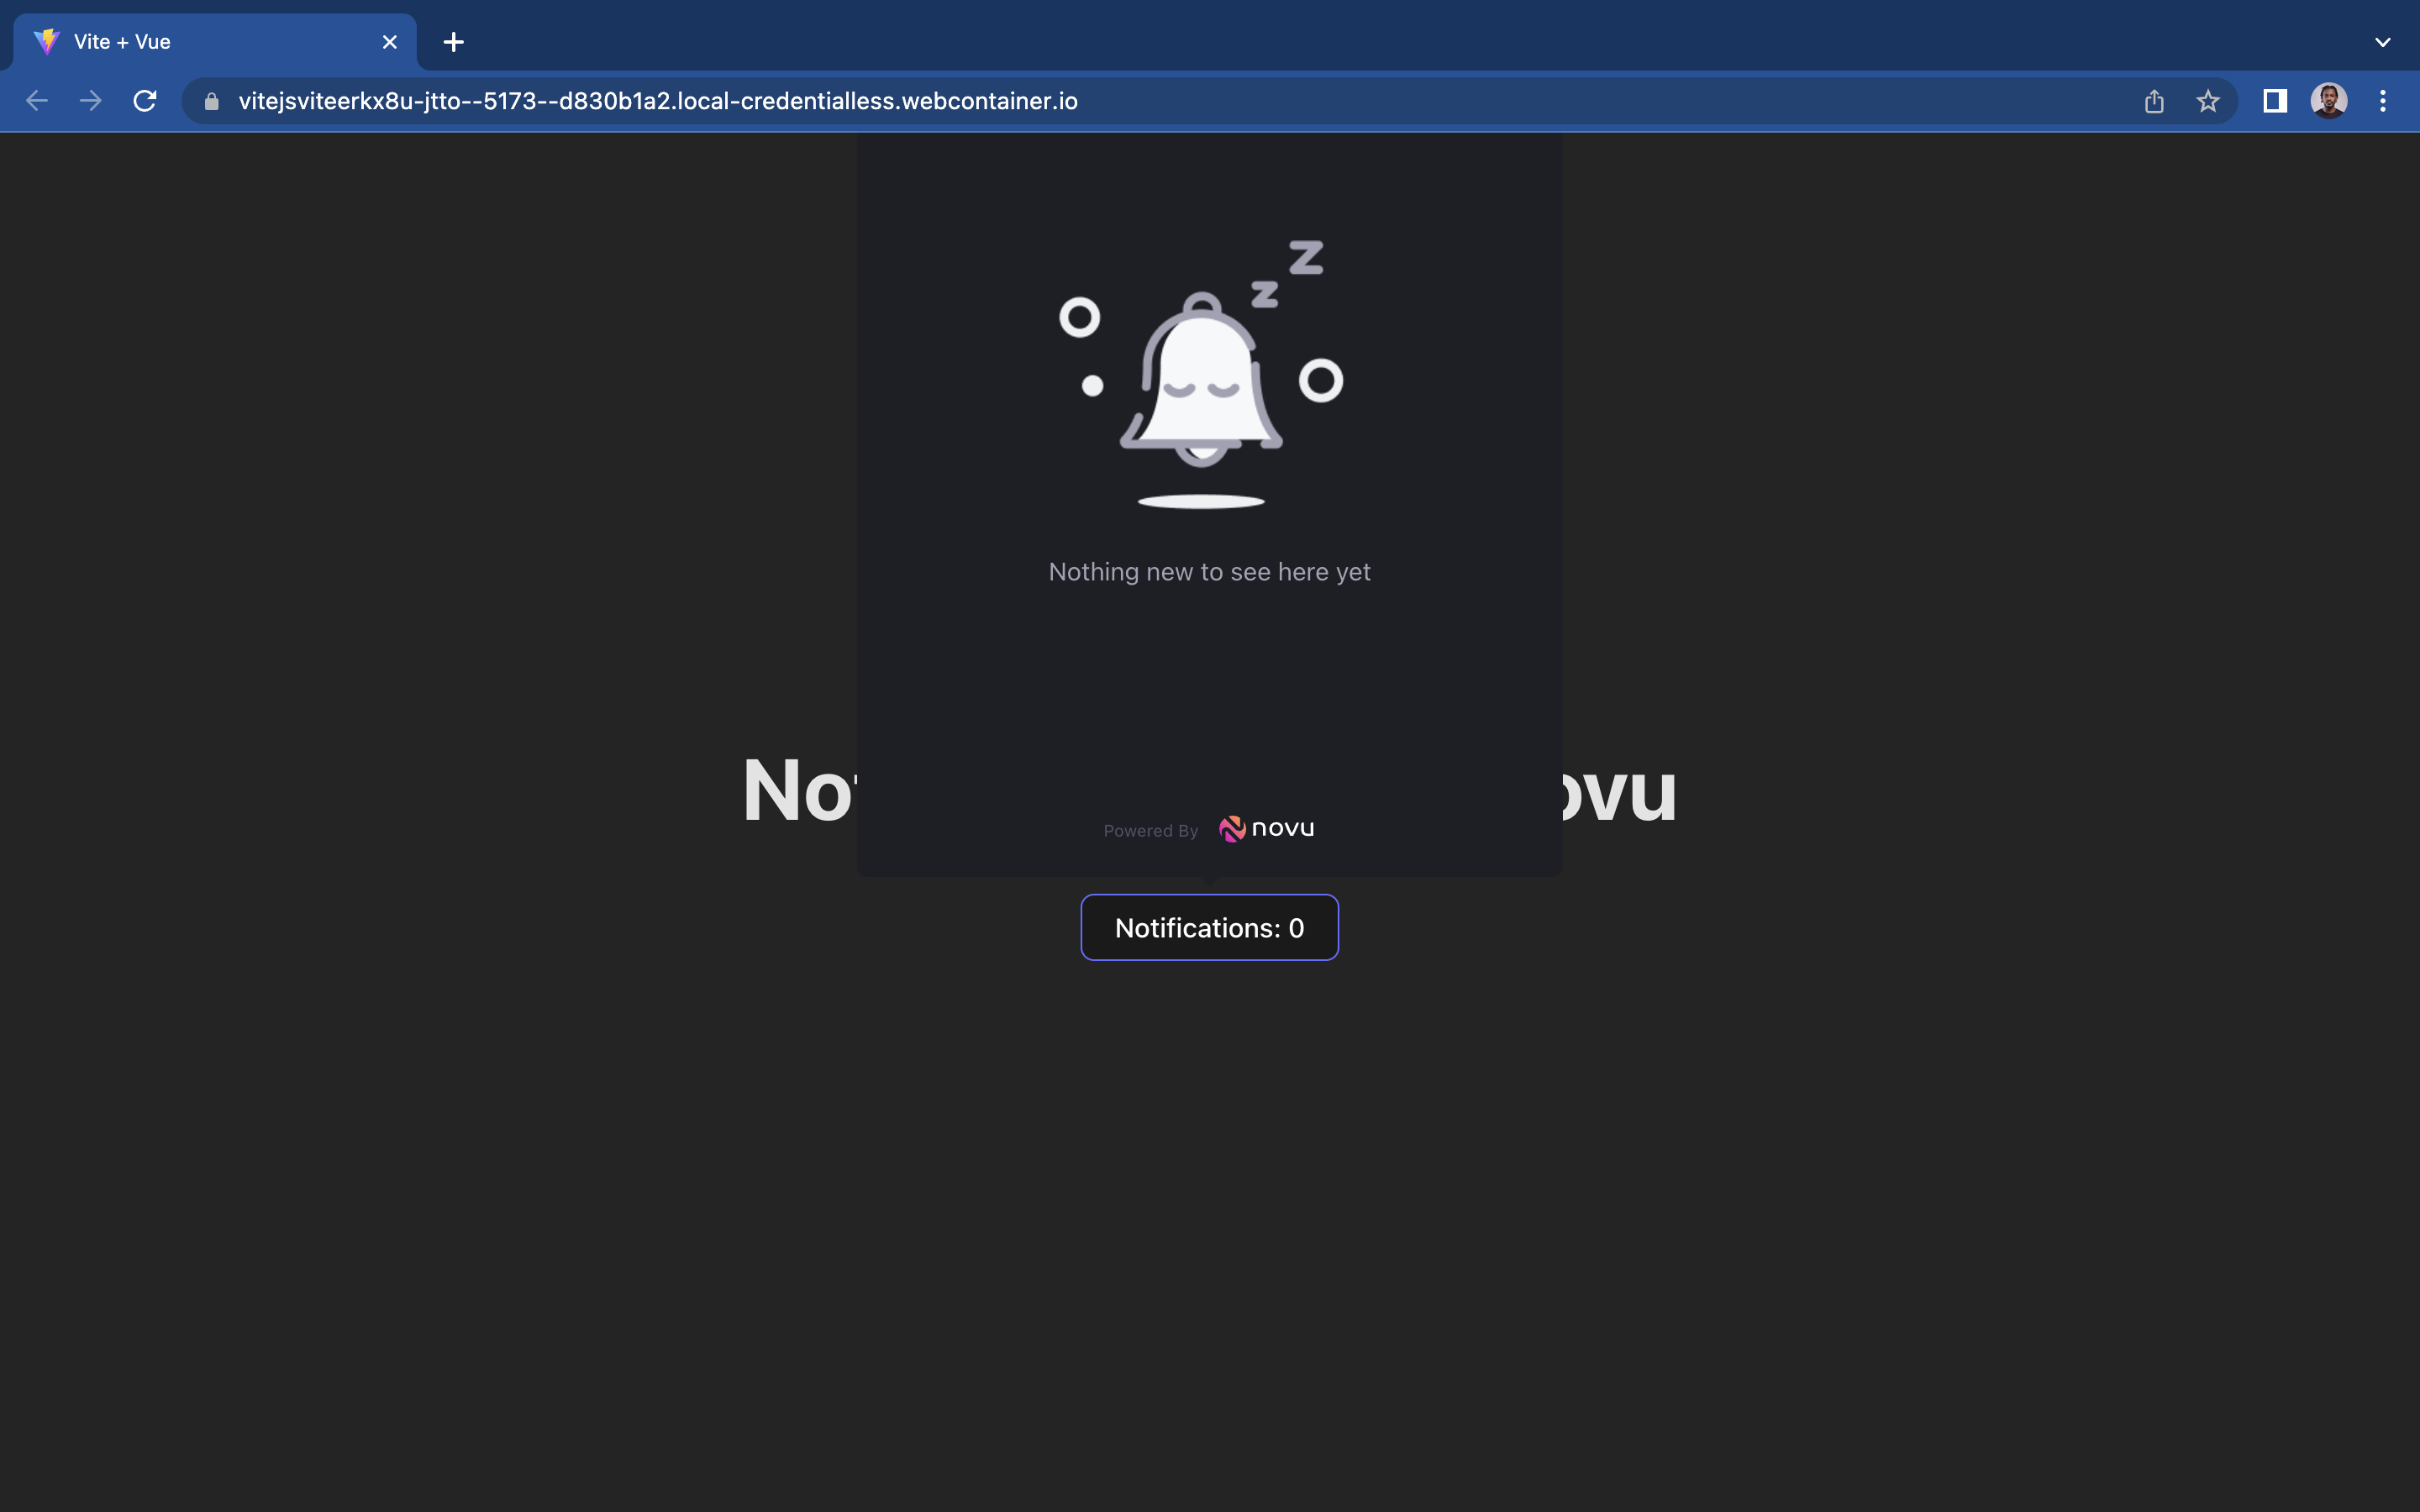
 <NotificationCenterComponent
     :subscriberId="subscriberId"
     :applicationIdentifier="applicationIdentifier"
     :sessionLoaded="sessionLoaded"
     v-slot="slot"
   >
     <button>Notifications: {{ slot.unseenCount }}</button>
   </NotificationCenterComponent>
This should display the below image:
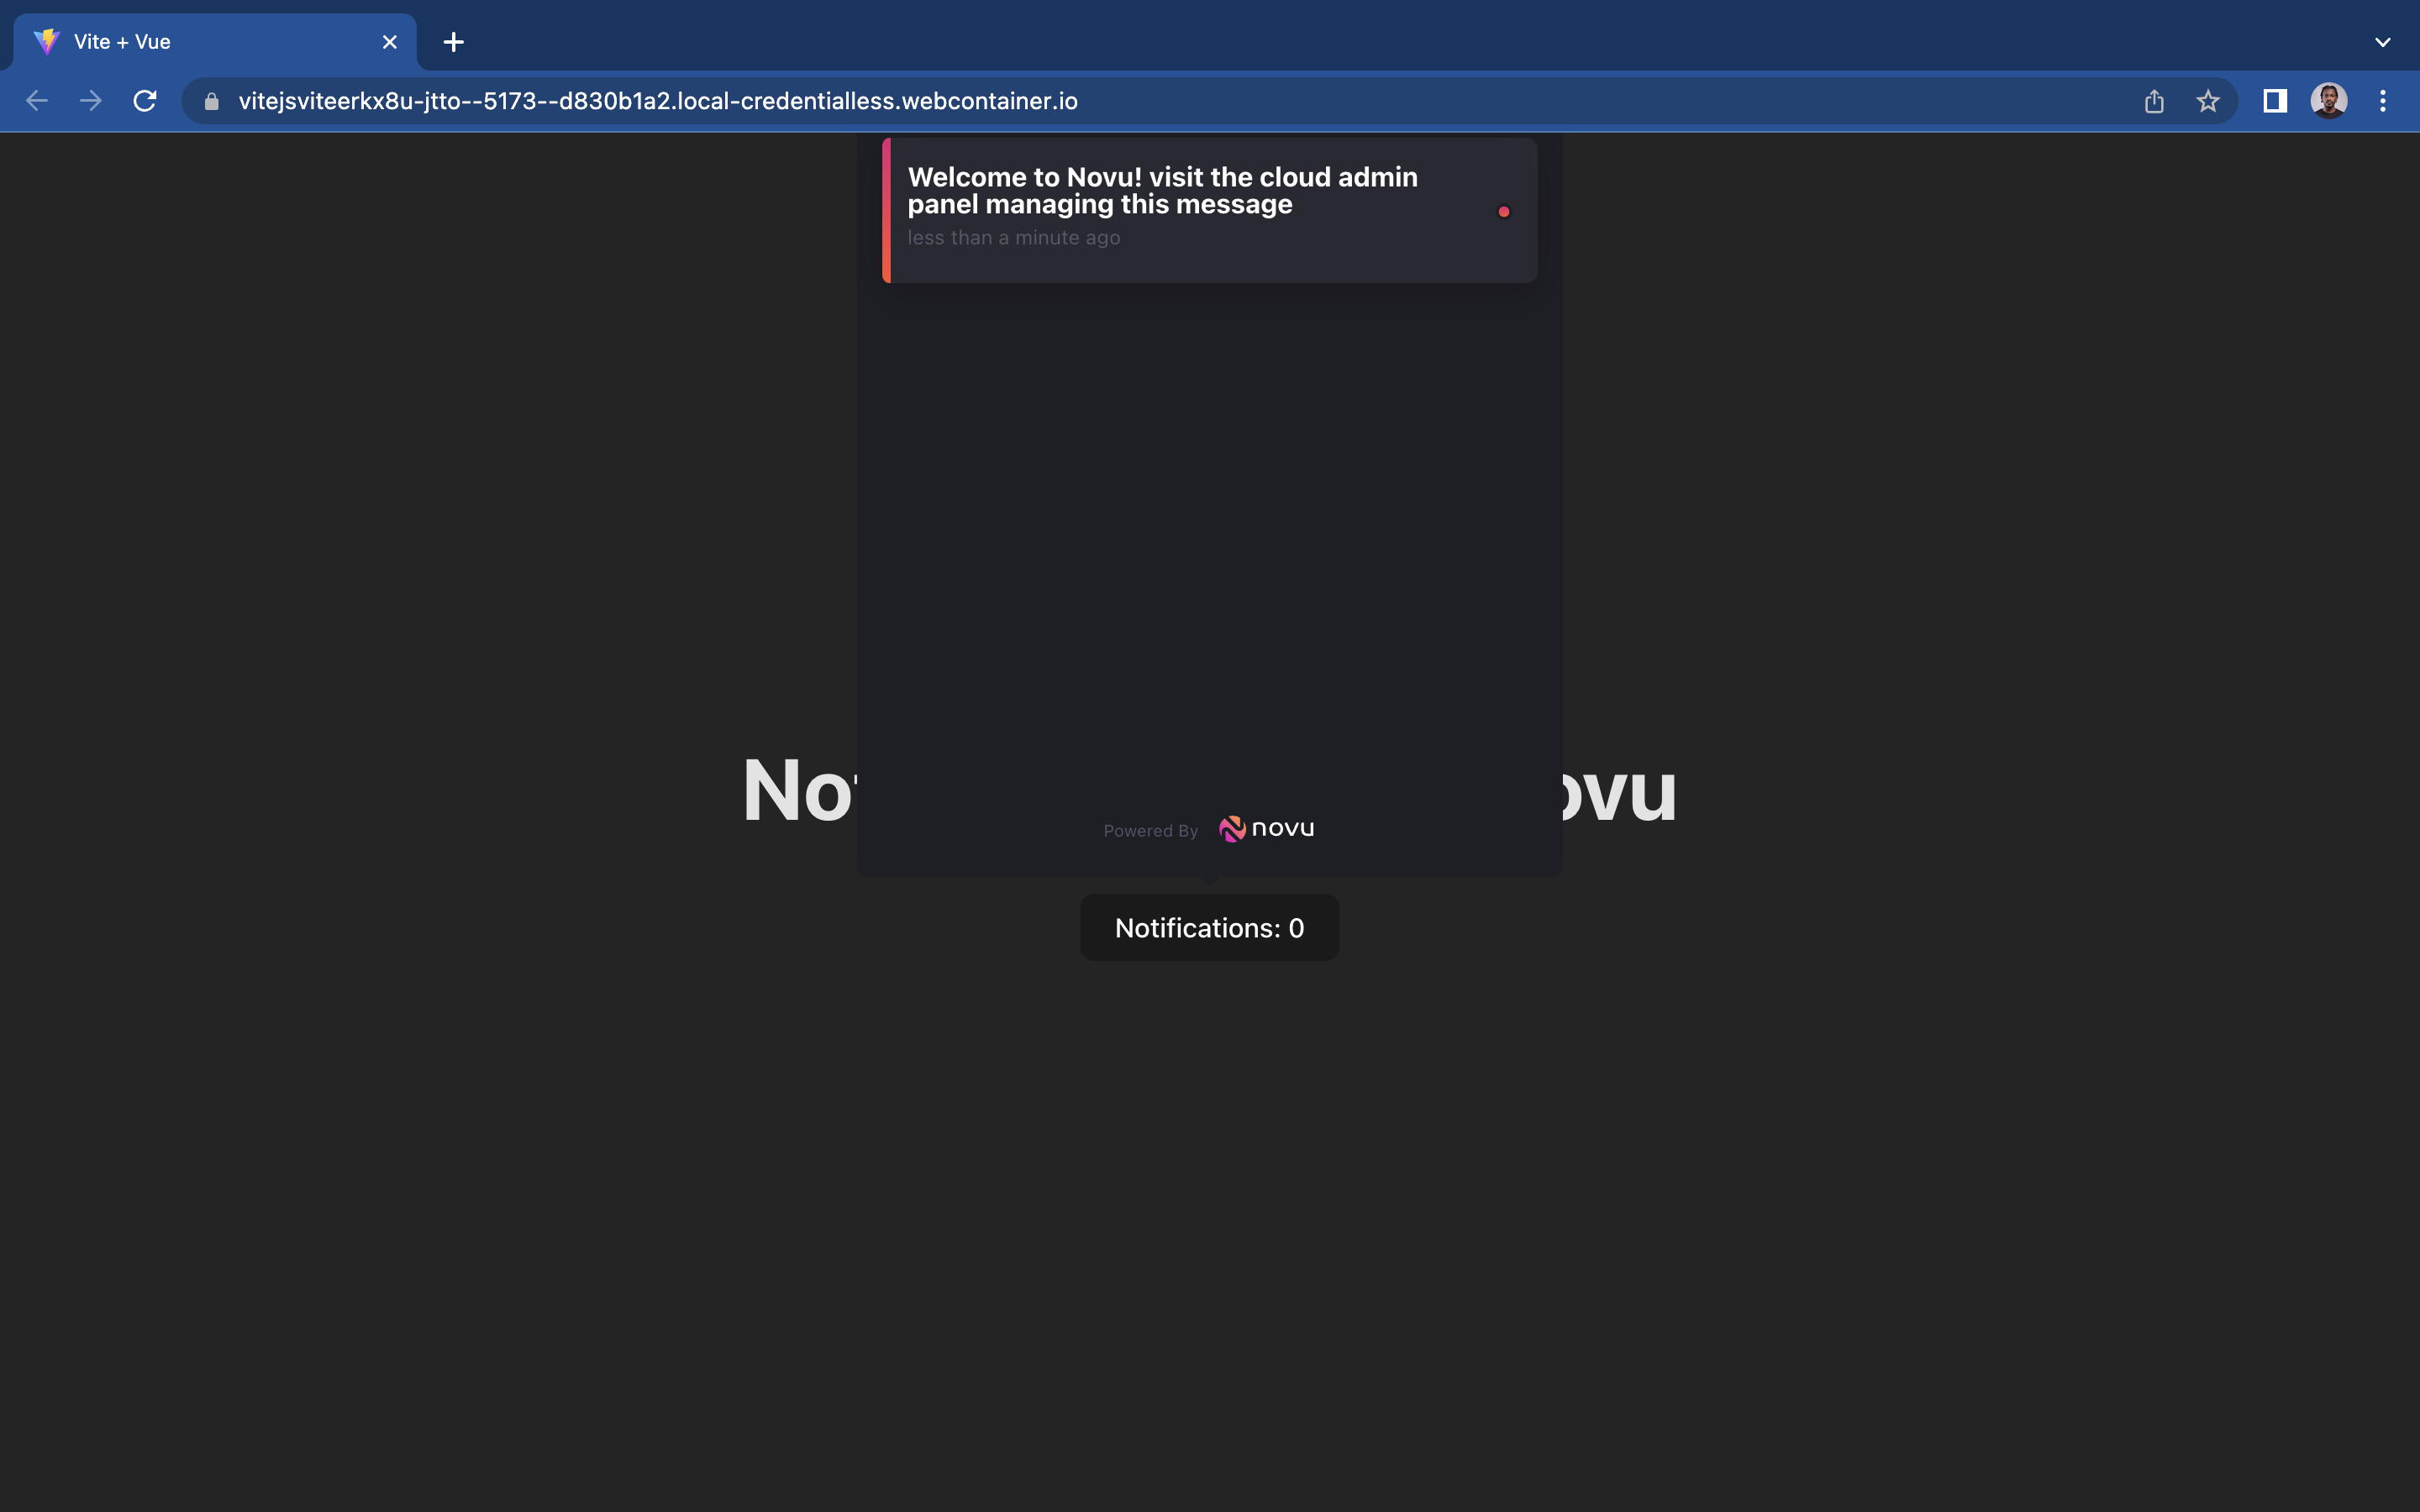
When a notification is triggered from the backend it automatically shows up with no further actions needed. These notifications are real-time as well:
Conclusion
With a few lines of code, you can add a fully functional notification system to your application that is lightweight and highly scalable. Depending on your use case, you may have additional layers like adding jobs, storing some notifications in the database before it's sent to the user, etc. but whatever your use case may be, Novu has you covered.
